This is the first of several posts that are, for lack of any better description, “documenting my experiments in charcoal production.” It’s hard to find much information on small-scale charcoal production on the internet anymore, and so I’ve had to work out some of the details of this myself. Fortunately, stainless steel is fairly cheap these days, which improves the process rather dramatically.
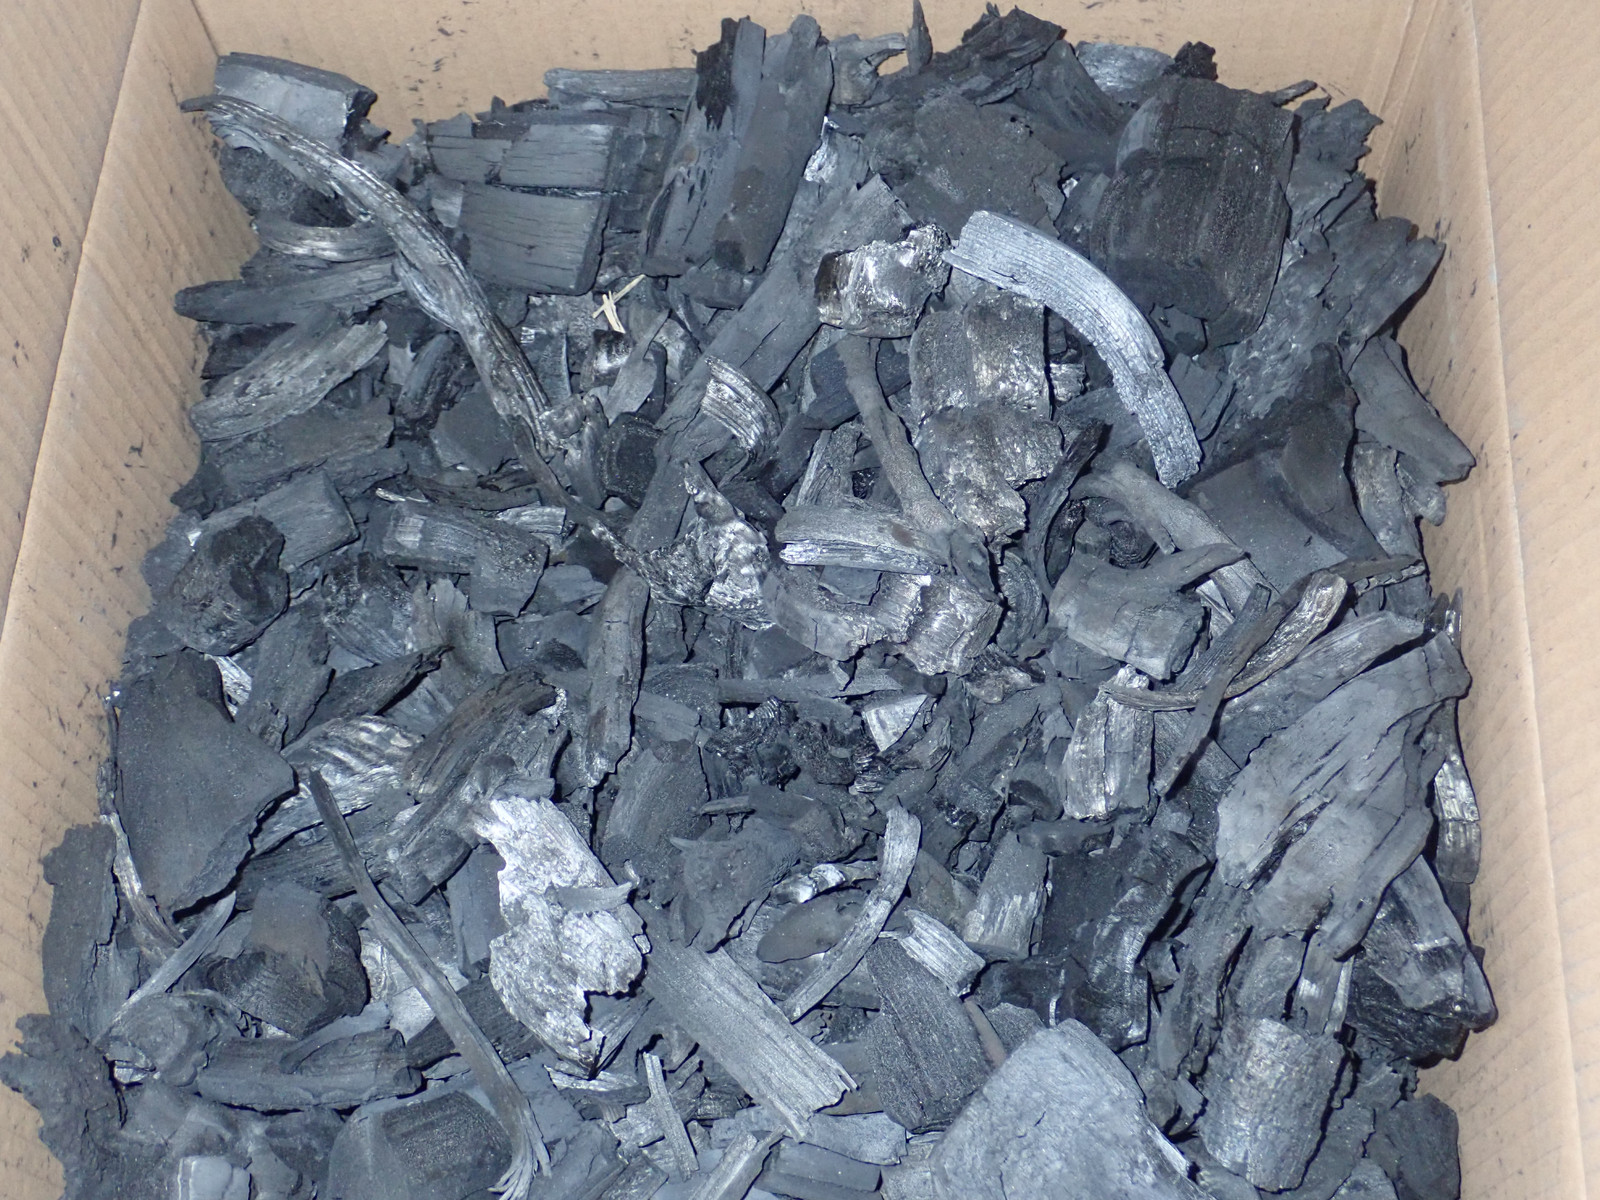
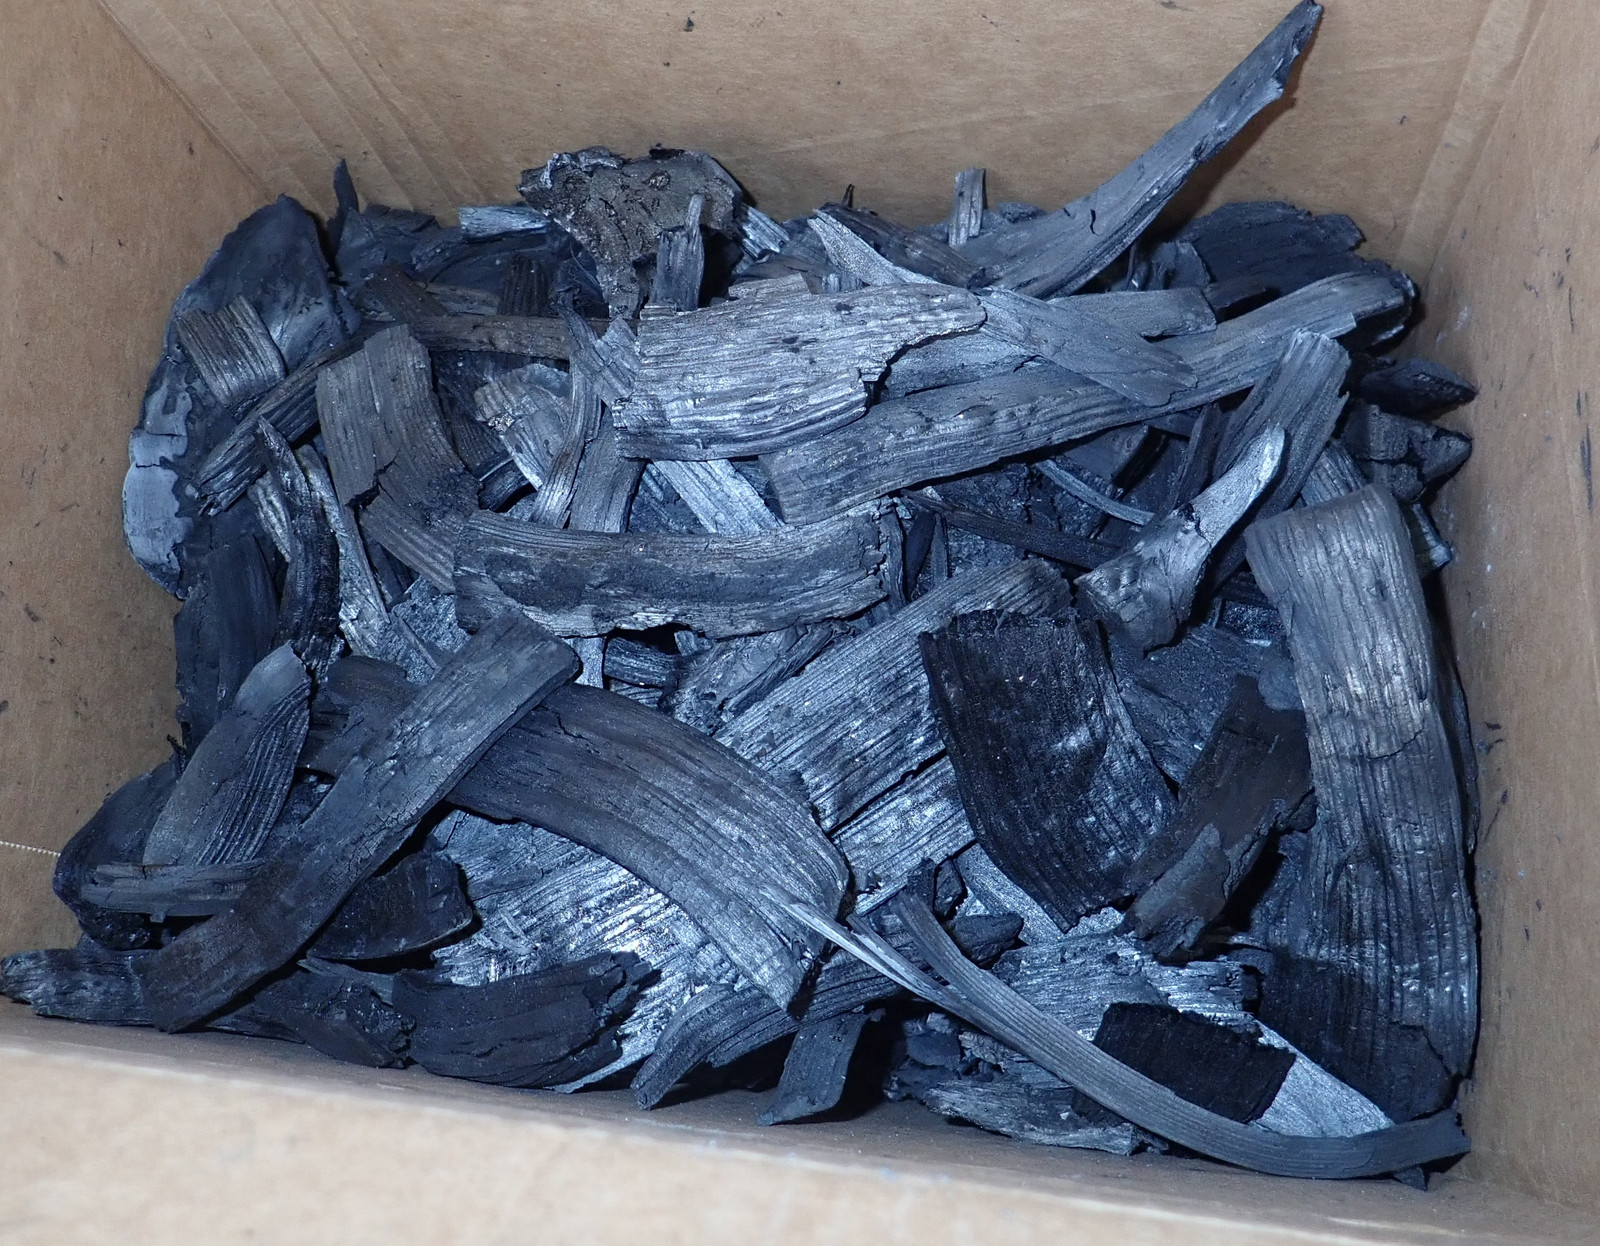
And I’d like to say I’ve been successful: I have a box full of charcoal produced from the Solo Stove process!
Why Charcoal? What’s Biochar?
You may reasonably think this a rather out-in-the-weeds topic for what I normally talk about on my blog, and you’d be right - though if you’re excited by it, there’s probably a lot more of this kind of stuff to come. I’ve decided to make a serious effort at the production of usable quantities of biochar. Biochar is nothing more than good high temperature charcoal (from some sort of biomass - I’m using wood waste currently) ground up and buried in the soil. The major benefits of it are in helping the soil hold water better (useful around here), and in giving a lot of surface area for assorted soil micro-biology to happen. In theory, it helps poor soil quite a bit, and large scale charcoal production mixed into the soil is one of the components of the Terra preta soil out in the Amazon.
No, you shouldn’t just take a bag of charcoal briquettes and toss them in the garden, though. There’s a difference between fuel charcoal and biochar, and as near as I can tell, the difference is that biochar is ideally done at a higher temperature, driving off more of the oils than you would want to for a fuel charcoal (they contribute to the energy of fuel charcoal in a useful way, without dropping combustion temperatures much). Also, you don’t want the various “easy light” chemicals and such in your garden, because those are full of lighter fluid and other things to make them easier to light off. Biochar is fundamentally just a pure, high temperature charcoal, ground into small pieces!
The Concept
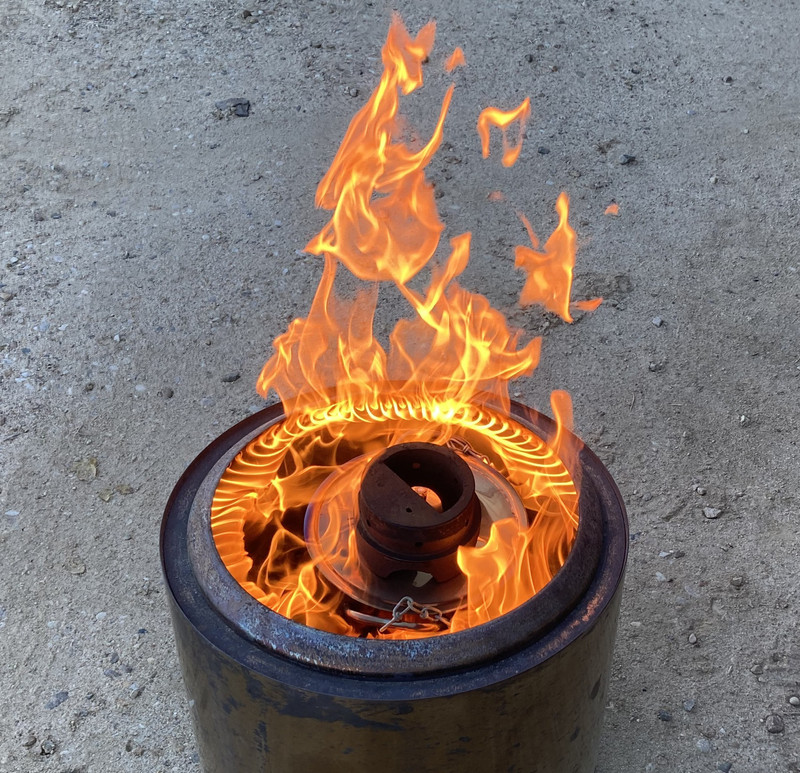
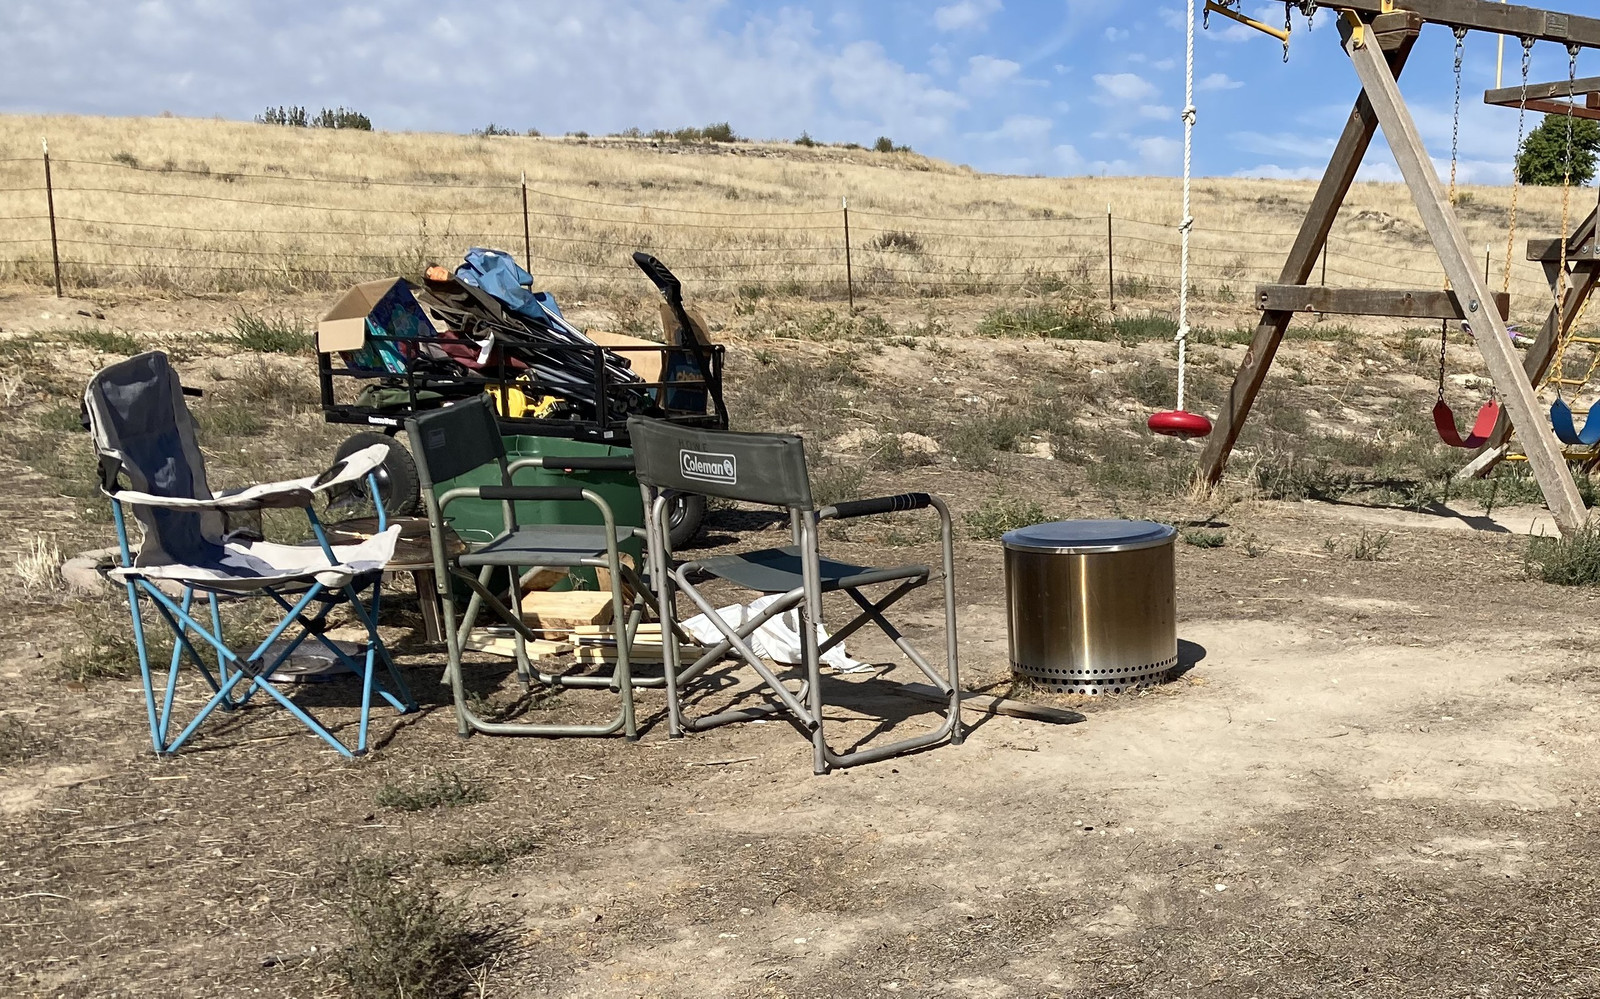
My concept here is simple enough. For quite while, every week, rain or shine, wind or snow (yes, we’ve tested this - we hear you, thunderstorm, and have to shout over you, but it is hot dog roasting night, and we’re going to roast them, even if we have to use the carport), we had a fire in our Solo Stove with a bunch of people around it to end the Lifegroup (church small group) we host. Late into the evening, the pit tends to burn down low, but there is still a huge amount of heat from the ember base. I’ve been curious about charcoal making for a while, and I finally had the bright idea that, hey, these two might be compatible! A bit of research on the (rather limited) information available on the internet said, “Yeah. You can make charcoal in a stainless steel pot in a Solo Stove.” So, one stainless steel pot later, I was ready to try it out!
Experiment 1: The Trial
My first experiment was simply, “Does this method even work?” Fill pot with some wood scraps I had laying around (not even very full - proof of concept), and put it in the fire later in the evening.
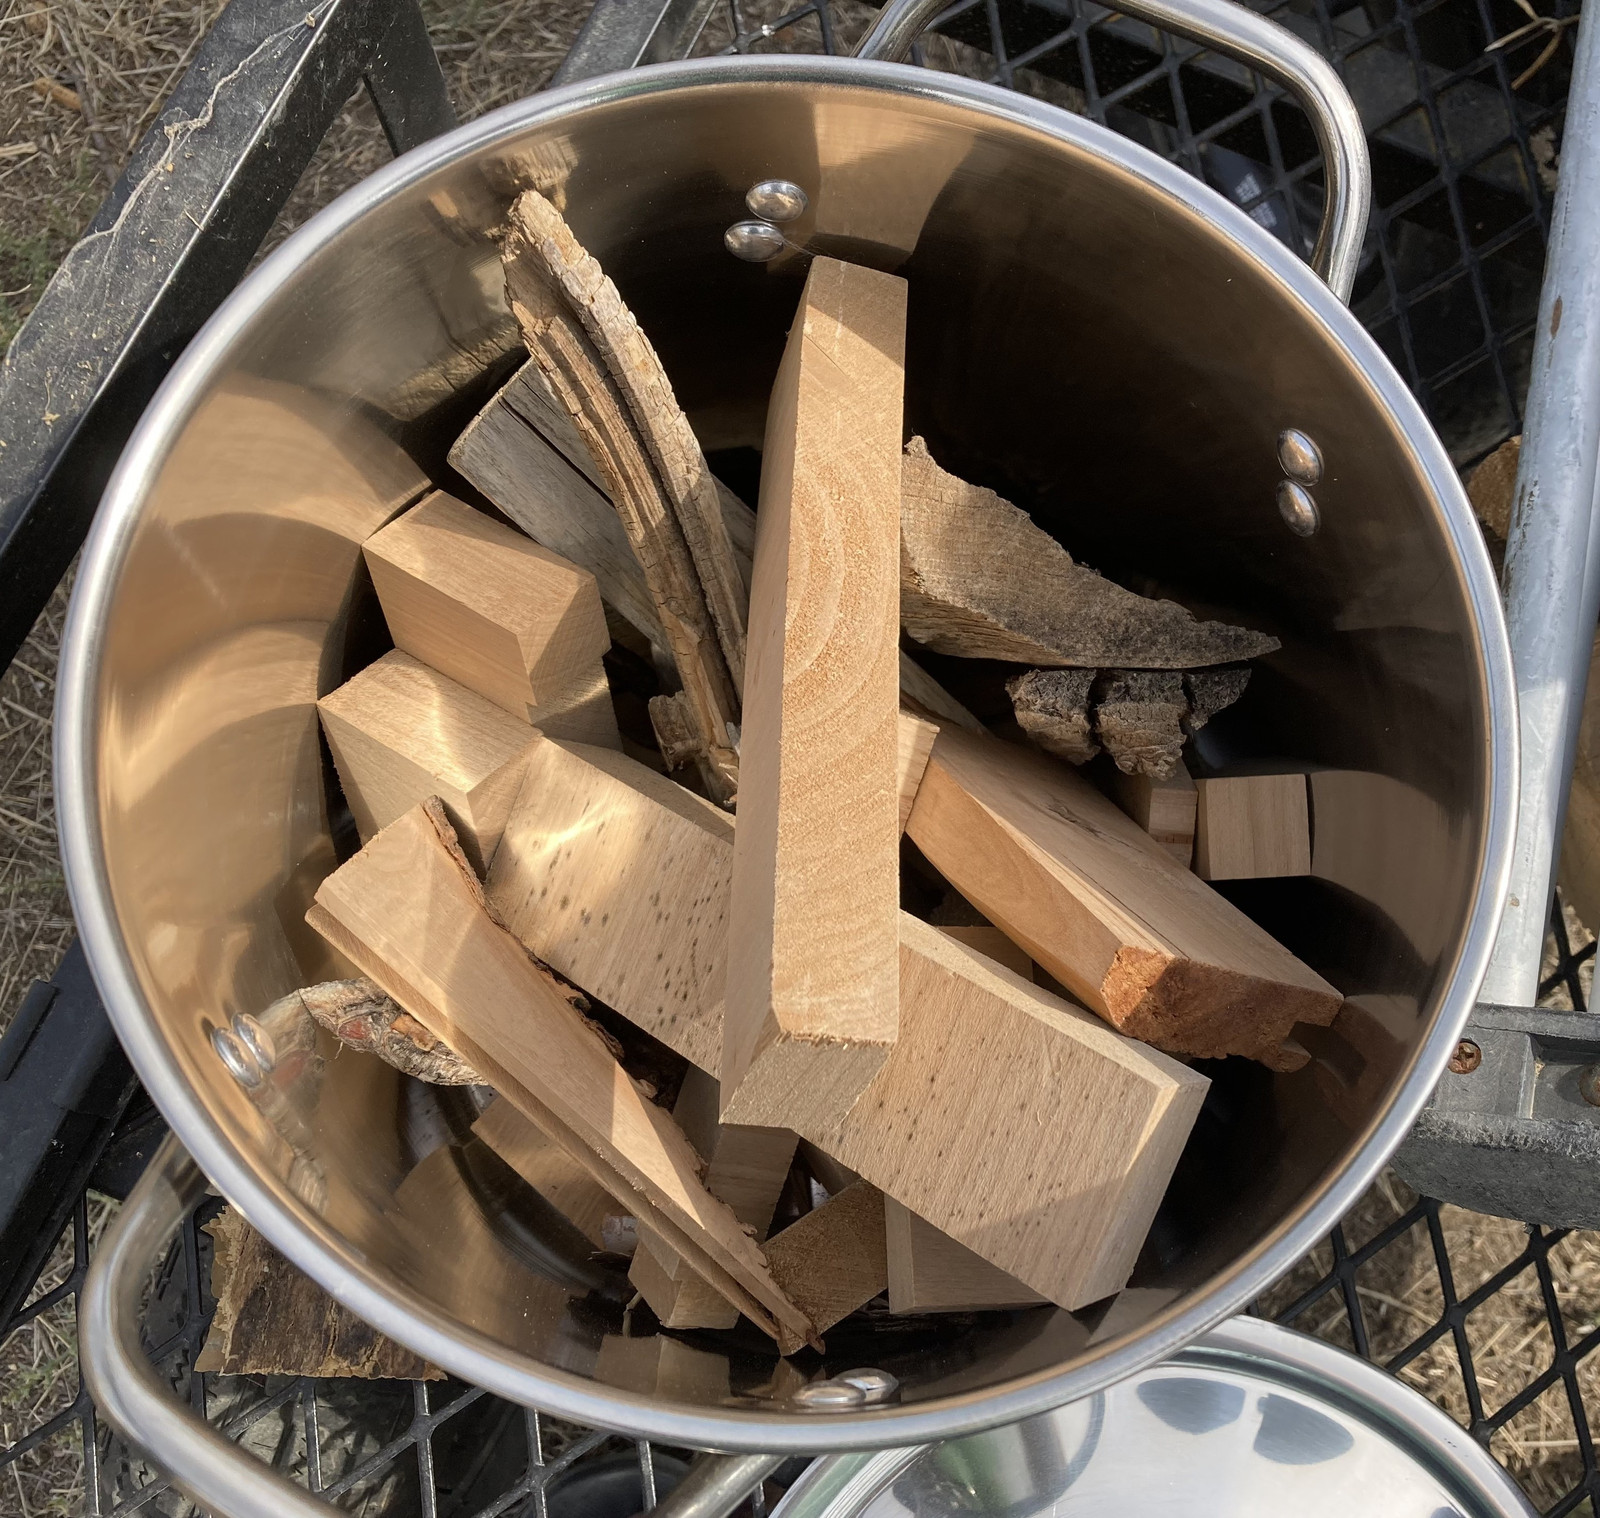
The concept here is simple: The lid sits loosely on top of the pot. When the wood offgasses, the gasses can escape from under it. When it cools down, only very limited air can get in, so it won’t actually burn the charcoal - it cools down in an oxygen deprived environment until it’s below combustion temperature. If it works, I get charcoal!
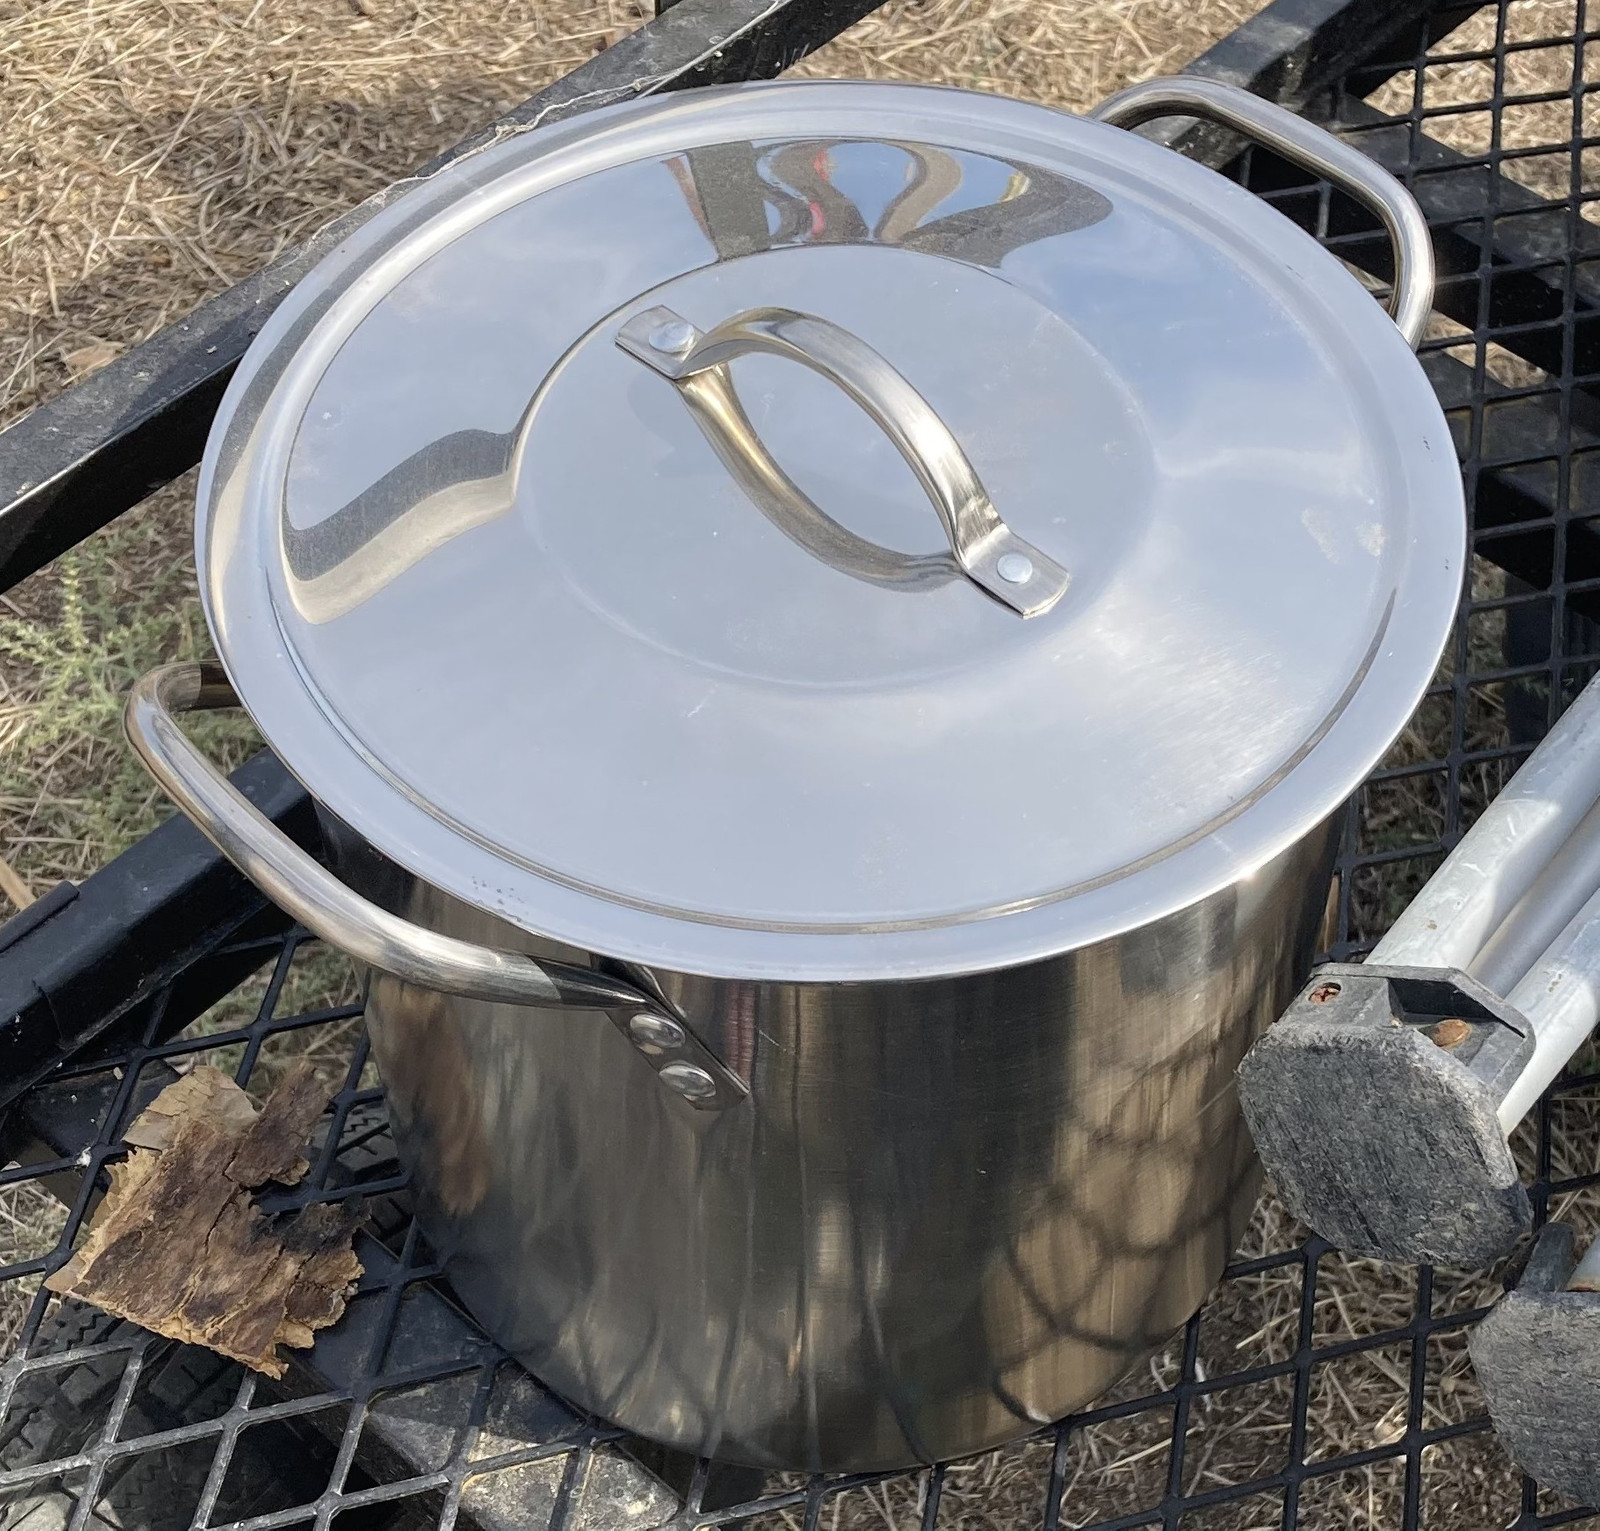
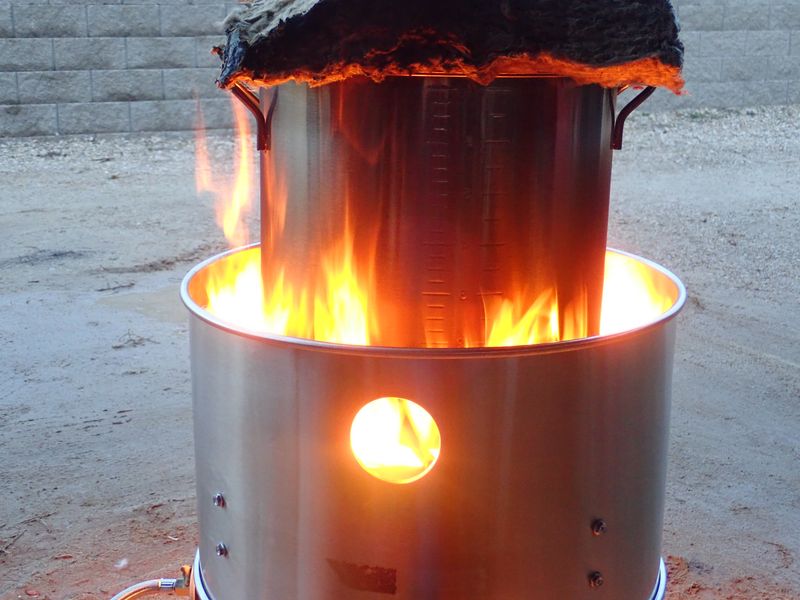
Putting the pot in via the two side handles was harder than expected. I used some metal sticks from the Solo Stove lid, and it worked, but wasn’t great. However, the process rapidly took off, and before long, I had gouts of flame gushing out the side of the pot lid. This is exactly what’s expected - the gases from the charcoal process are quite combustible, and catch fire on exposure to air. So far, so good!
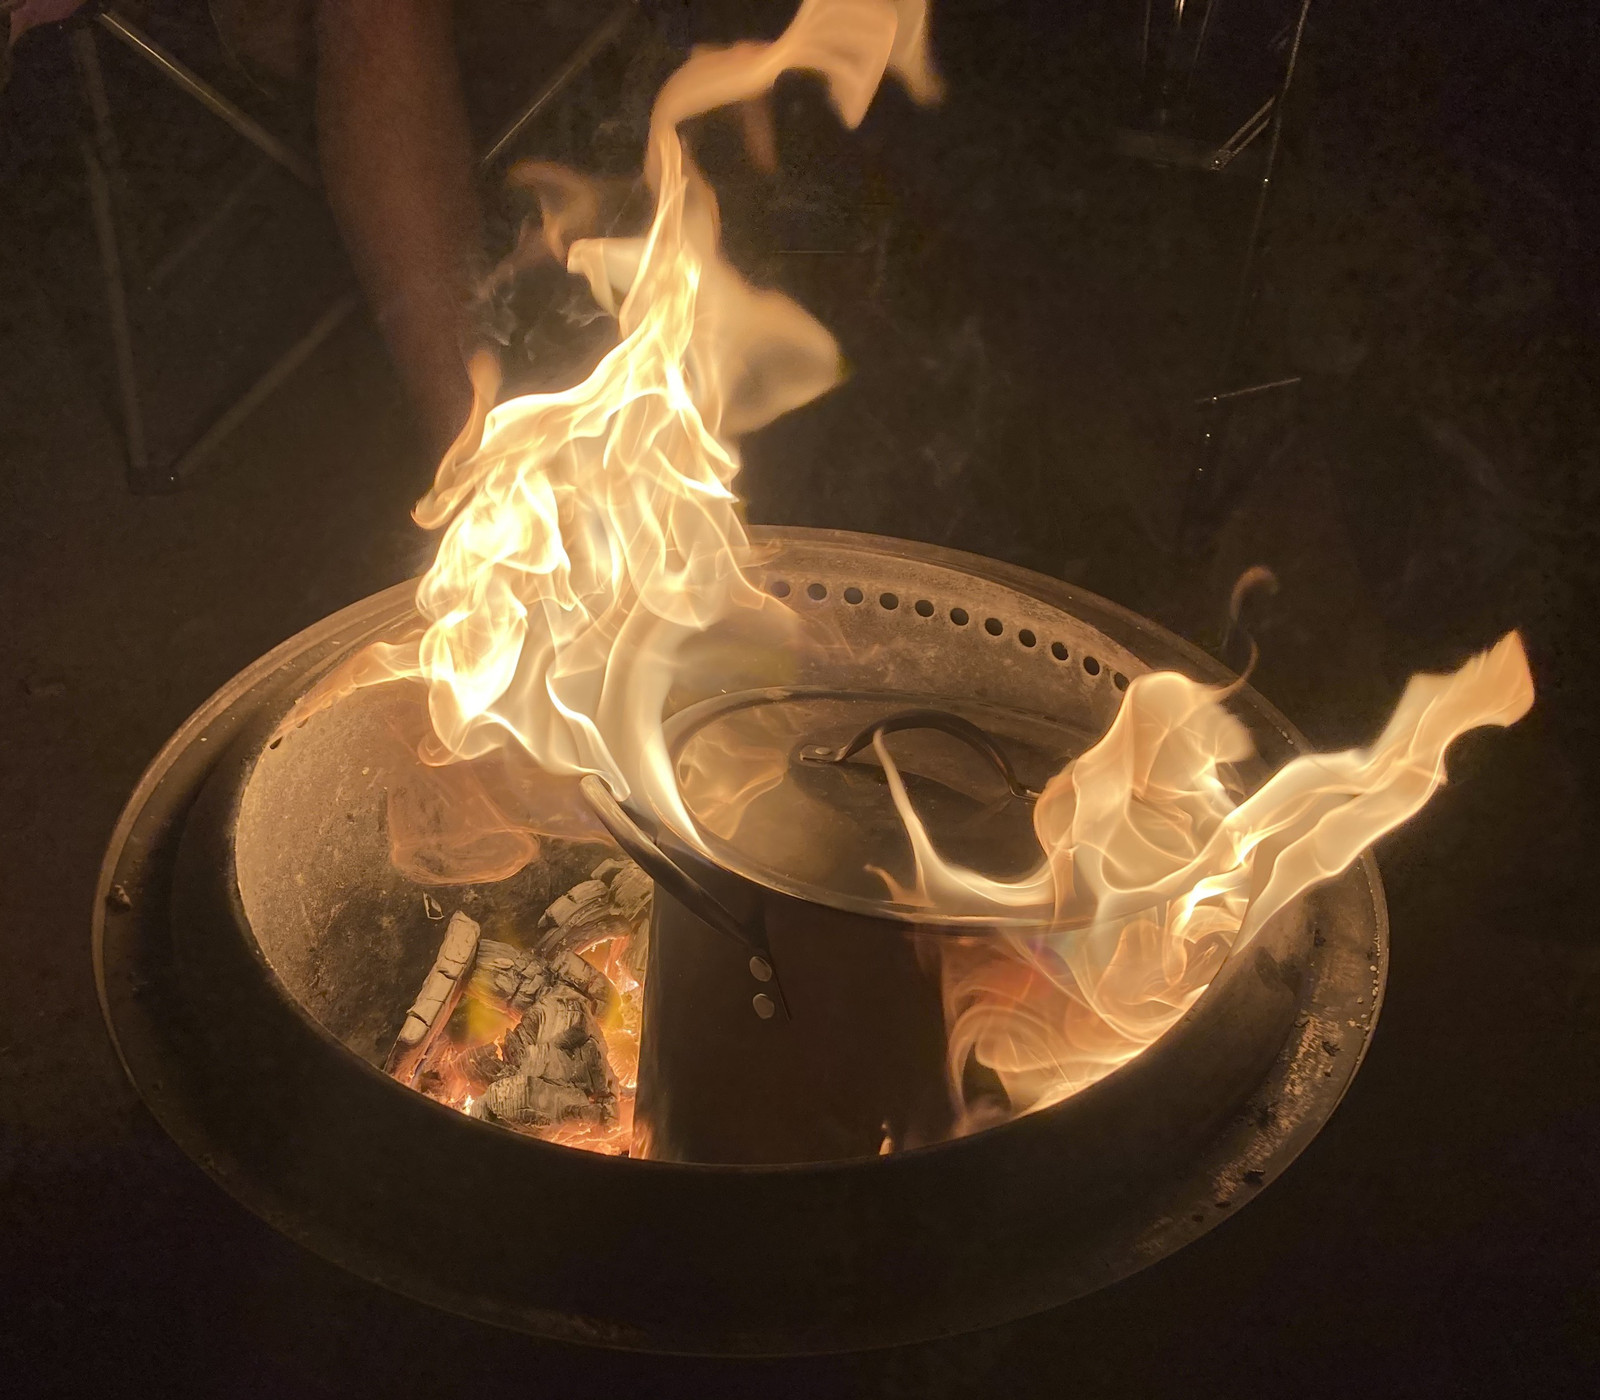
Once the embers burned a little flatter, I was able to better position the pot in the center of the stove, with the lid below the afterburning injection holes - and, yup. Working as advertised! The gases shot out, got mixed with the secondary air injection, and it’s just like a normal solo stove, but with a weird gas generator in the middle instead!
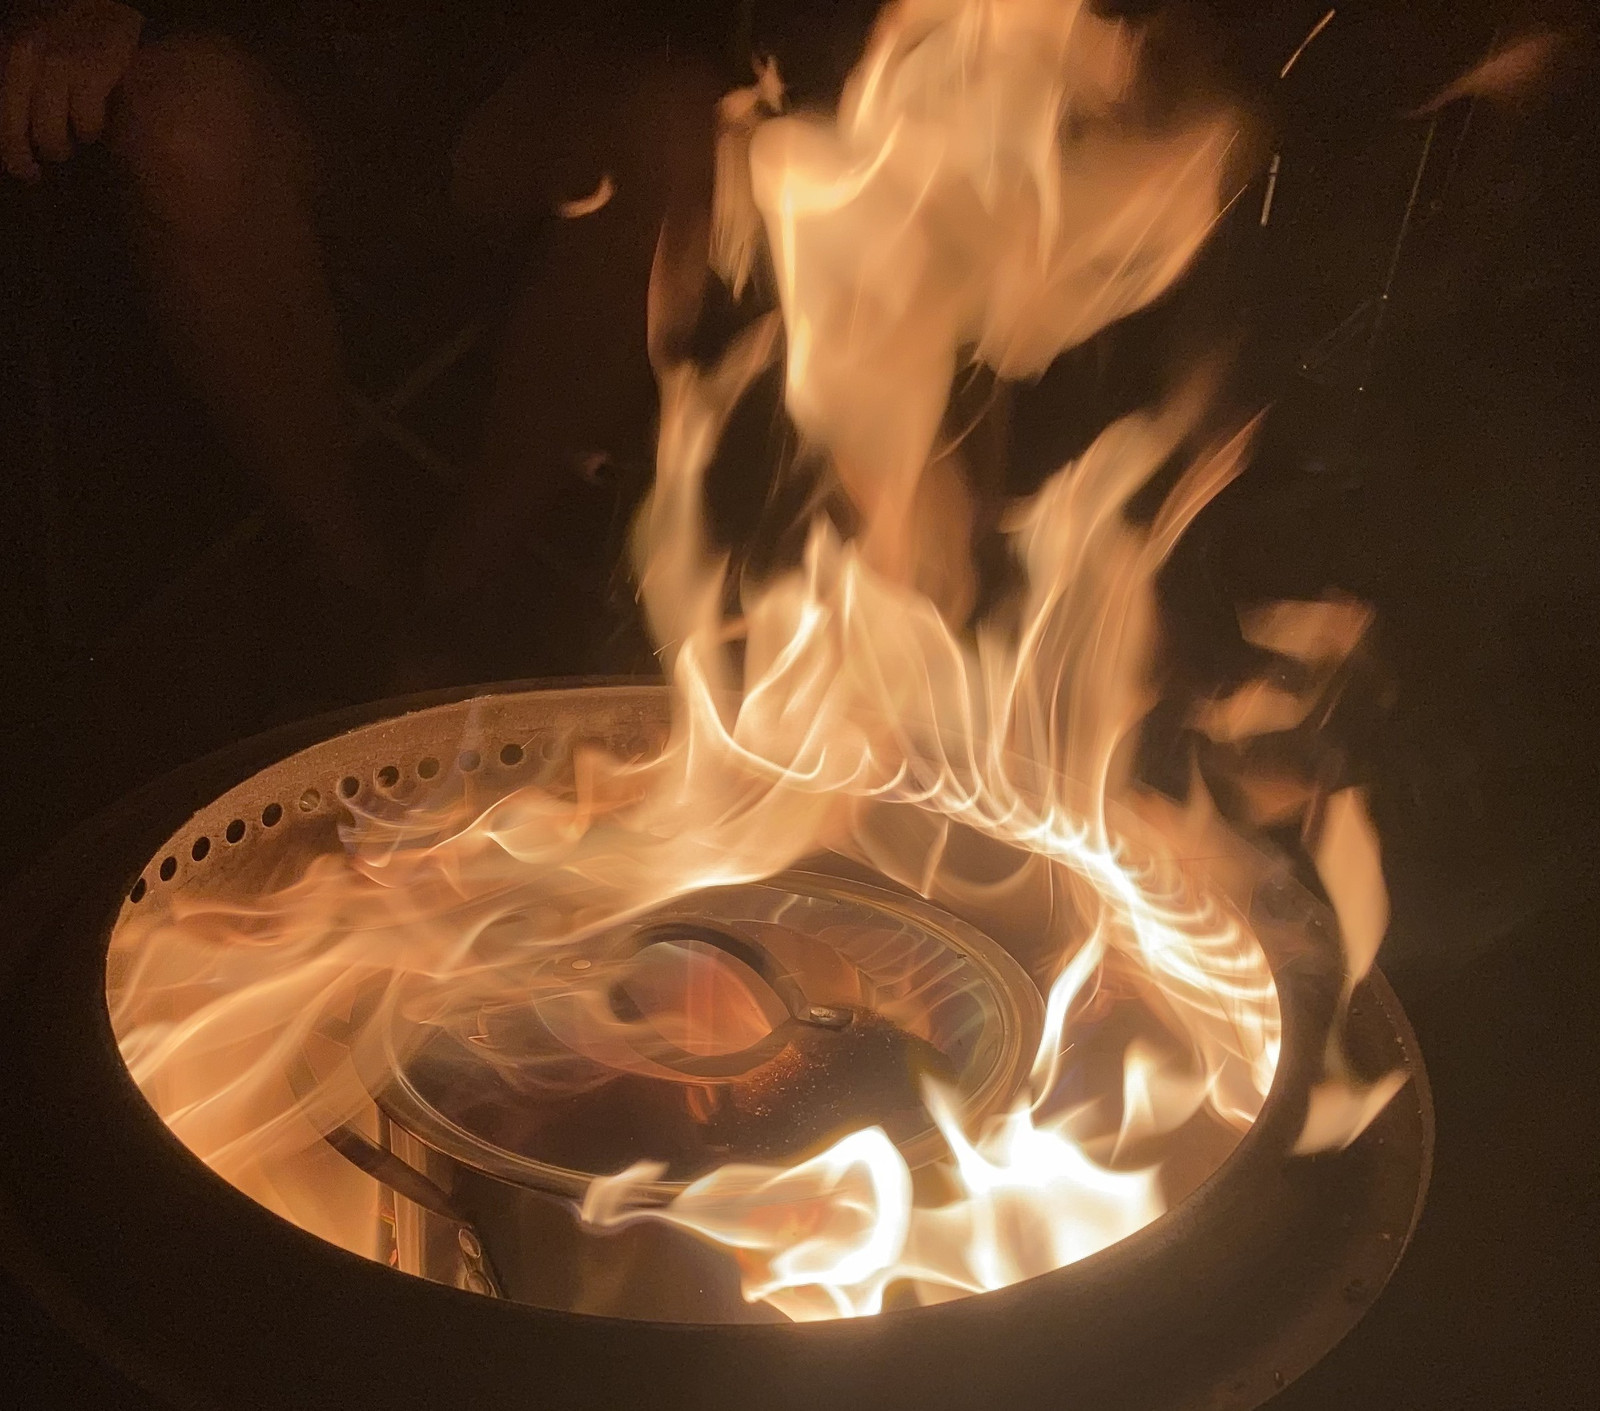
And then, a while later, we noticed the pot wasn’t looking right. Closer inspection revealed that the handles had fallen off - you can see the lack of them on the pot, and one glowing rather orange in the bottom to the left of the pot. Whoops. The aluminum rivets holding them on seem to have rather melted. Now, I tell people the Solo Stove burns hot on occasion, but when I say “It burns hot,” I do literally mean “It will melt aluminum without thinking twice.” Oh well, something to fix.
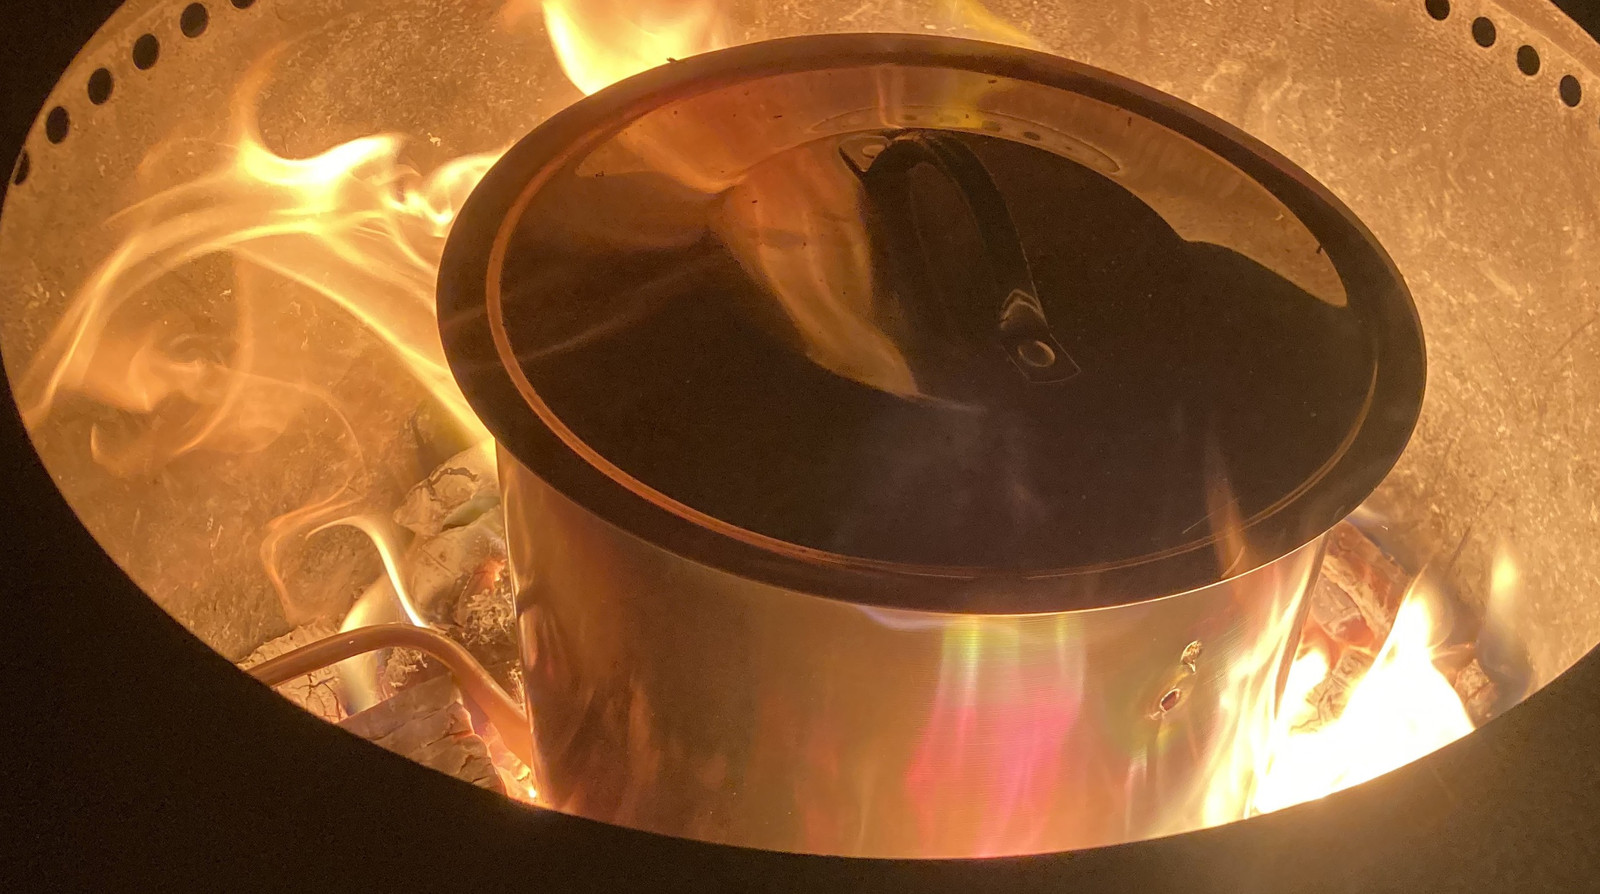
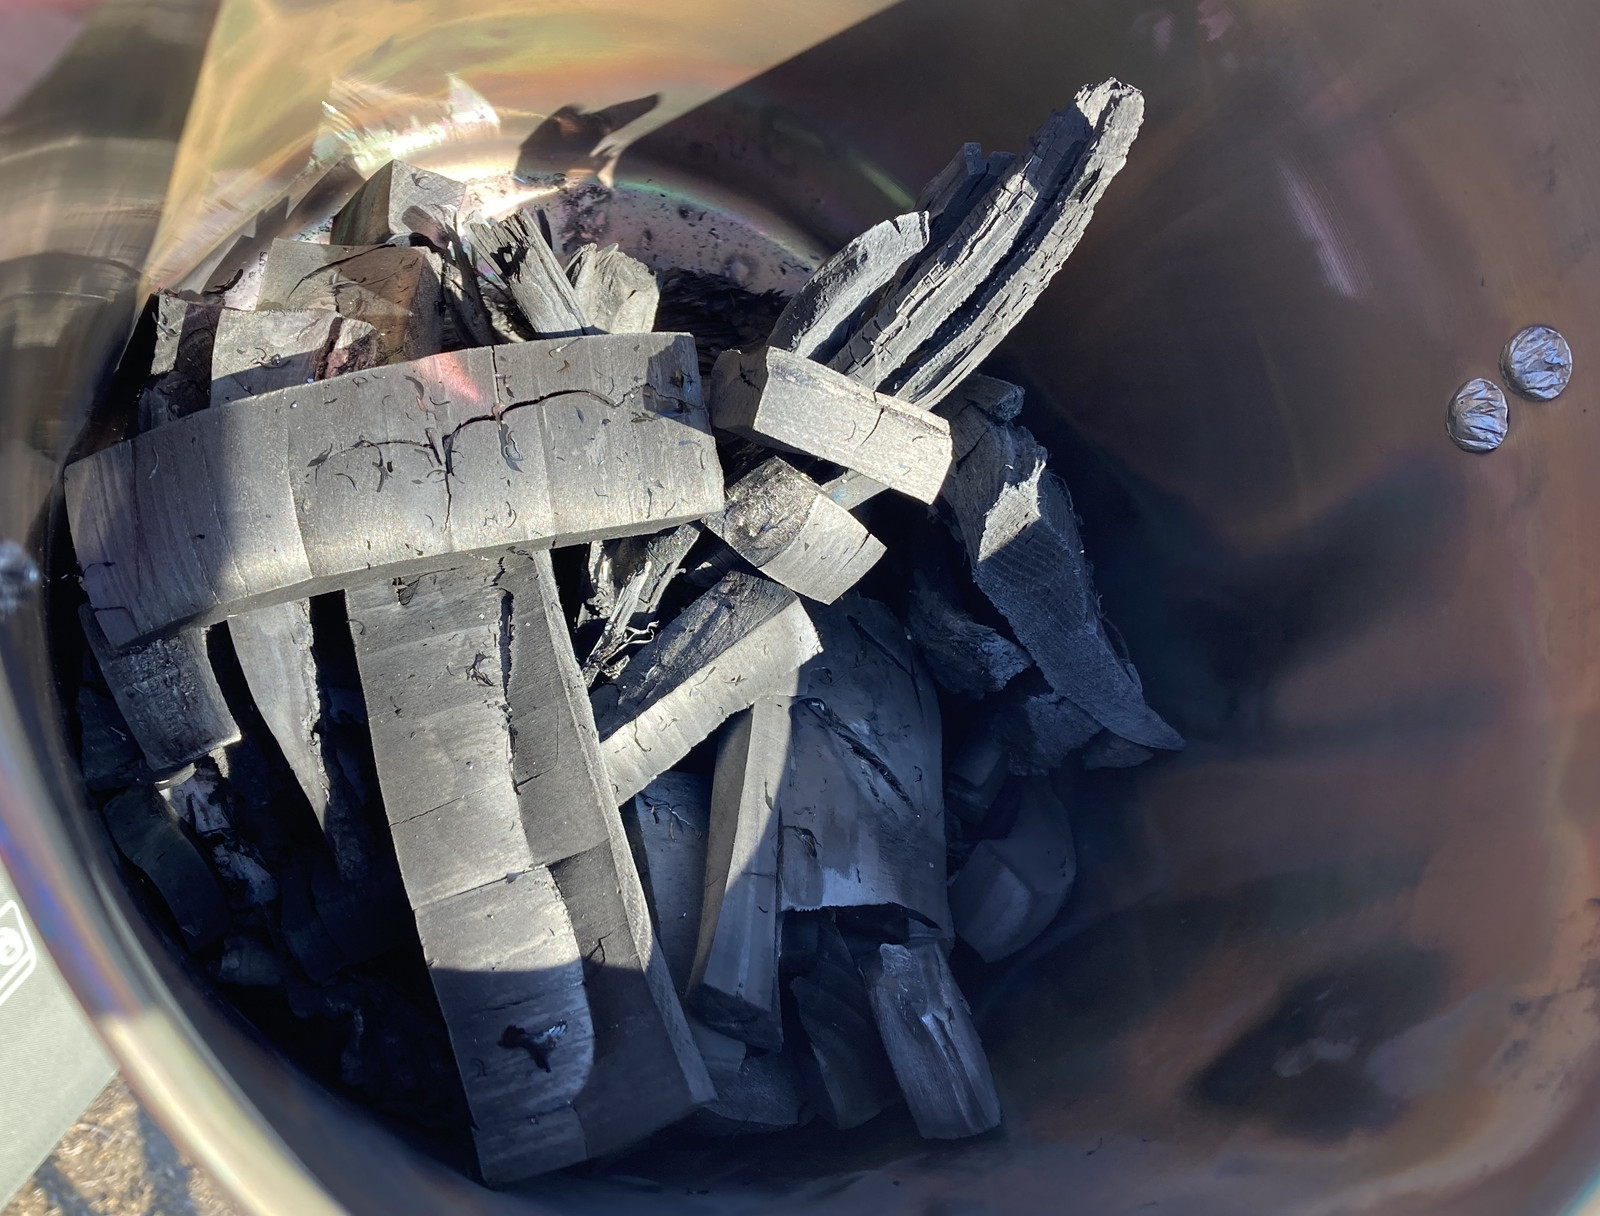
However, the next morning, the results were in: That’s some charcoal! It sat in the stove far longer than needed, and remained in the stove with the lid closed on it after we went to bed - gradually cooling in a very oxygen deprived environment. In the morning, the charcoal was cold, so I poked and prodded it. I’m not a charcoal connoisseur (yet), but this is some fine charcoal! It’s very, very brittle and glasslike, and almost “clinks” when you tap the pieces together - so that means it’s well fried out and there’s nothing but the carbon remaining! I’ll call this a success!
Charcoal production is organic, outdoor, around good conversation! I’ve no idea if this matters to the process, but it’s a good use of evenings for humans!
High Temperature Handles
With everything cooled down, and the handles retrieved, what exactly happened? Exactly as we suspected - the aluminum melted. The handles were heavy enough to just plop down into the bottom. Fortunately, being stainless steel, they’re totally fine.
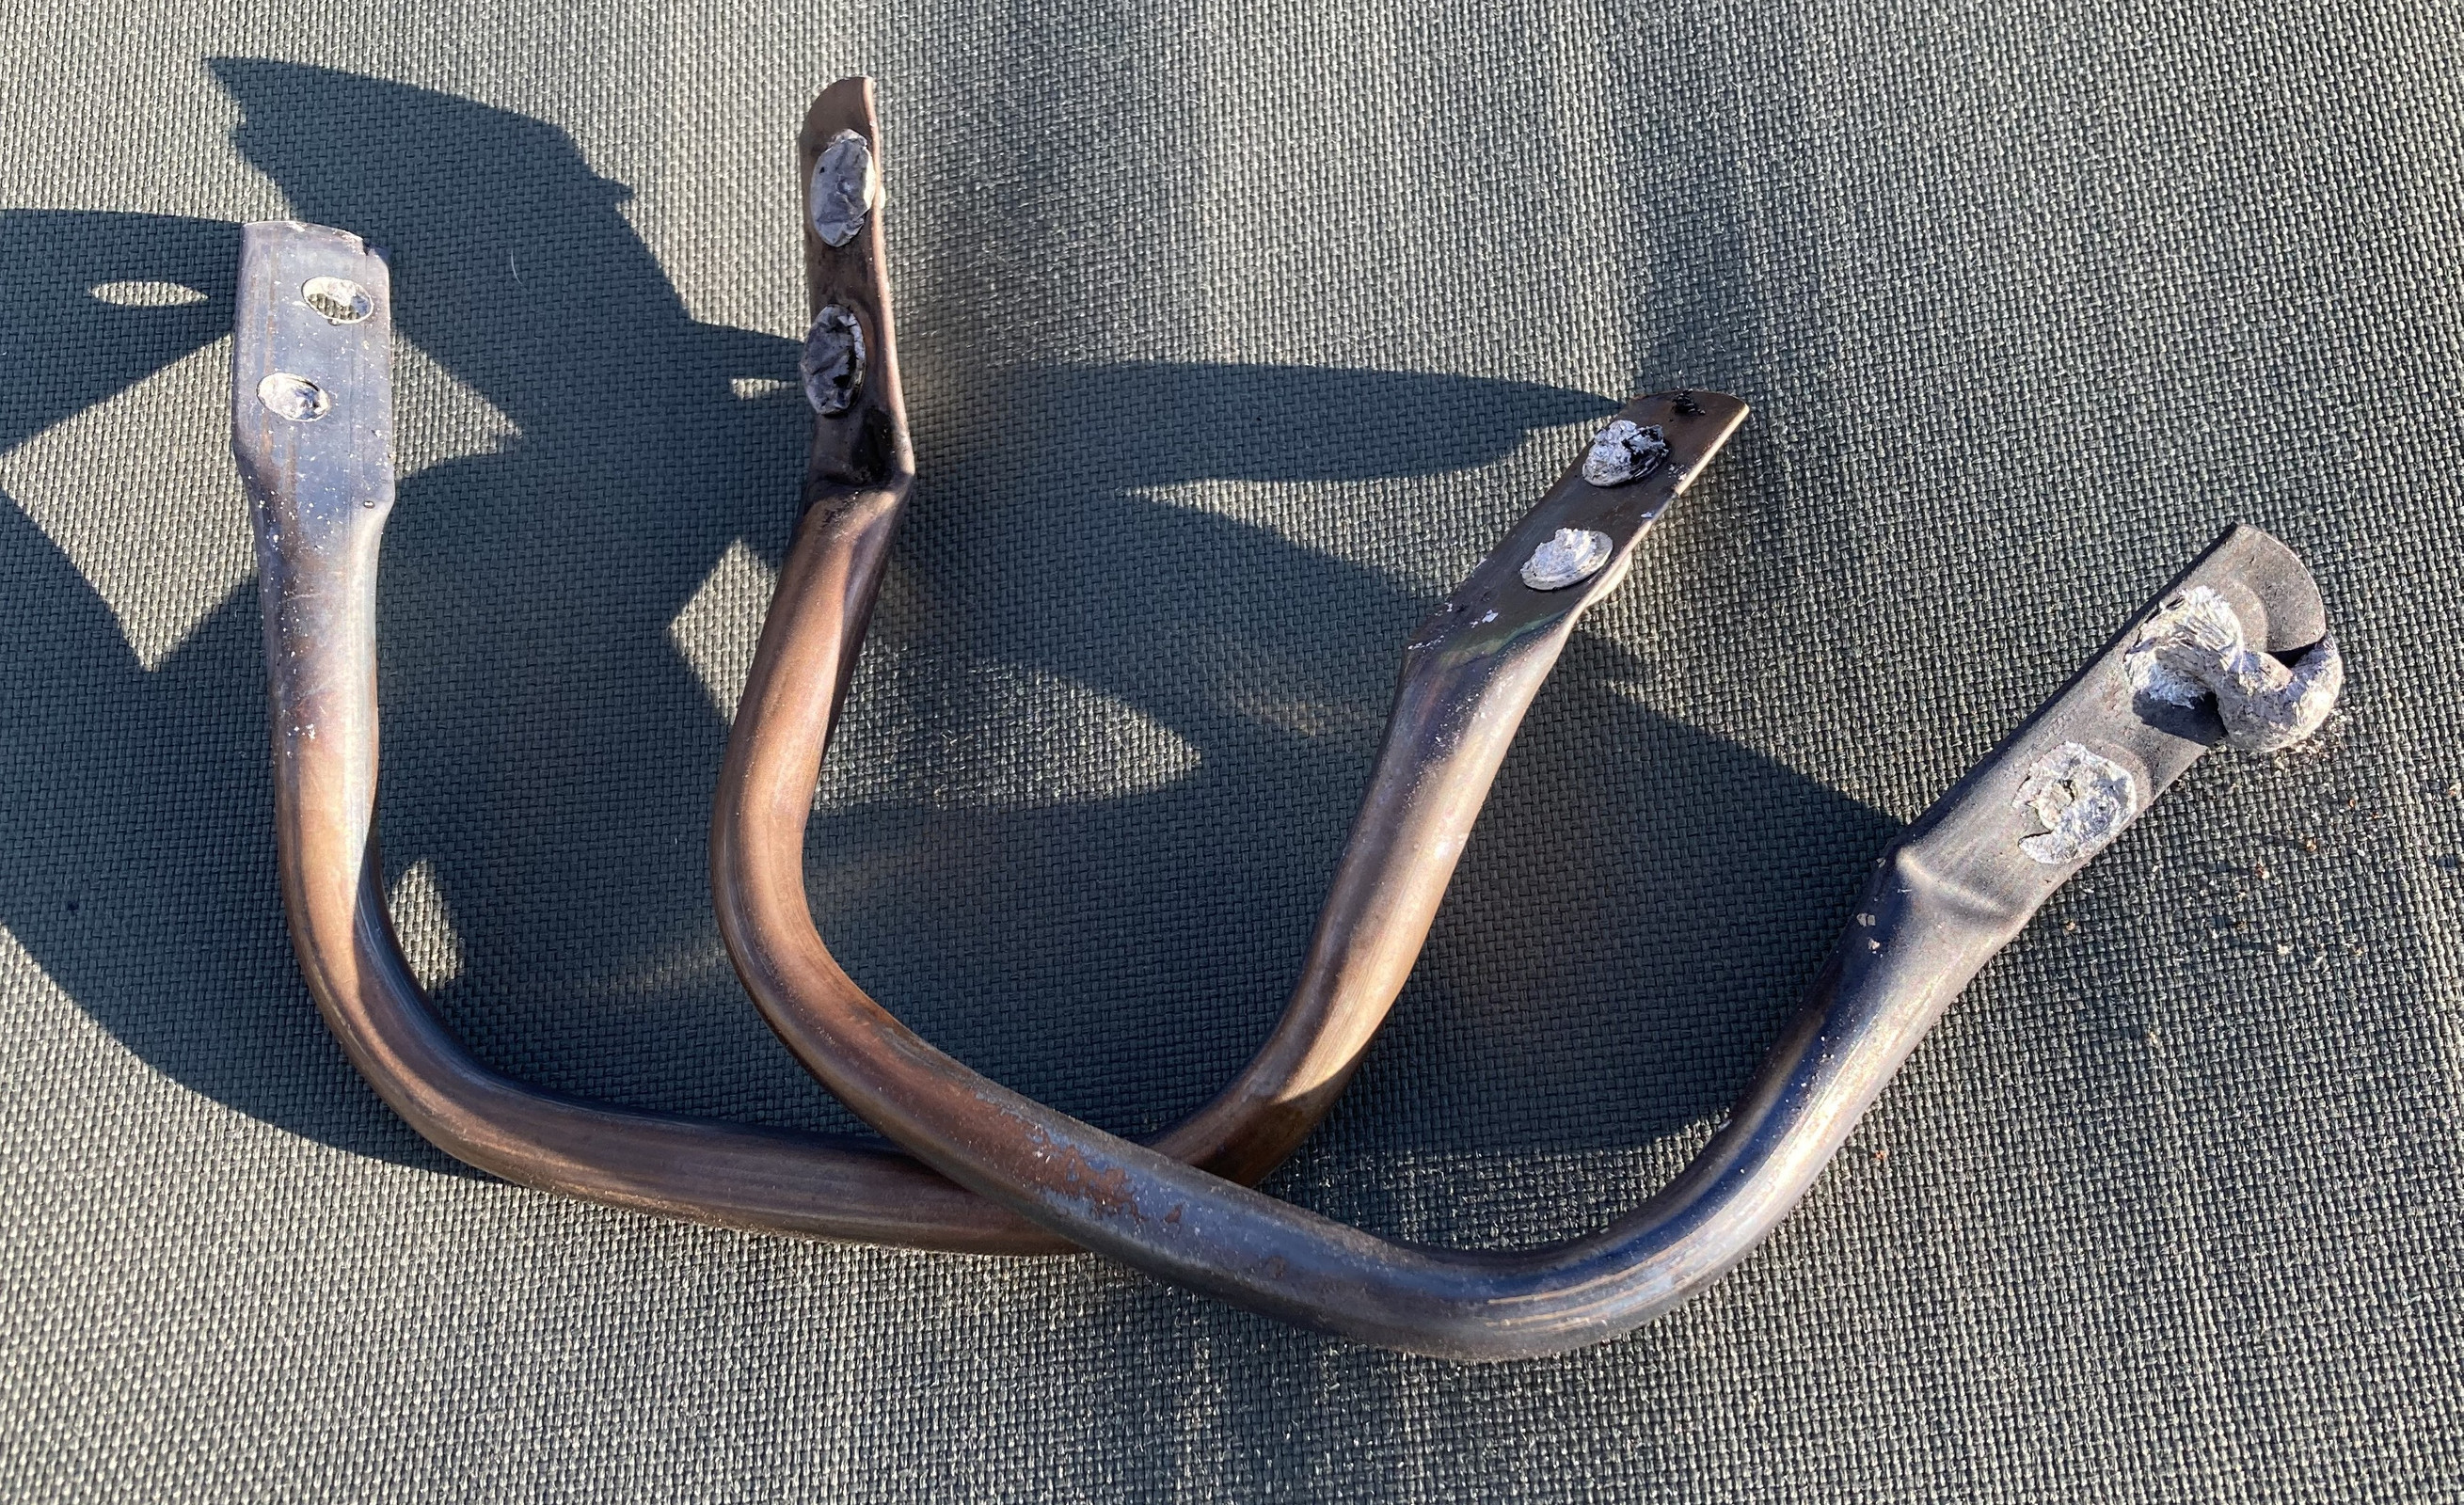
Blorp.
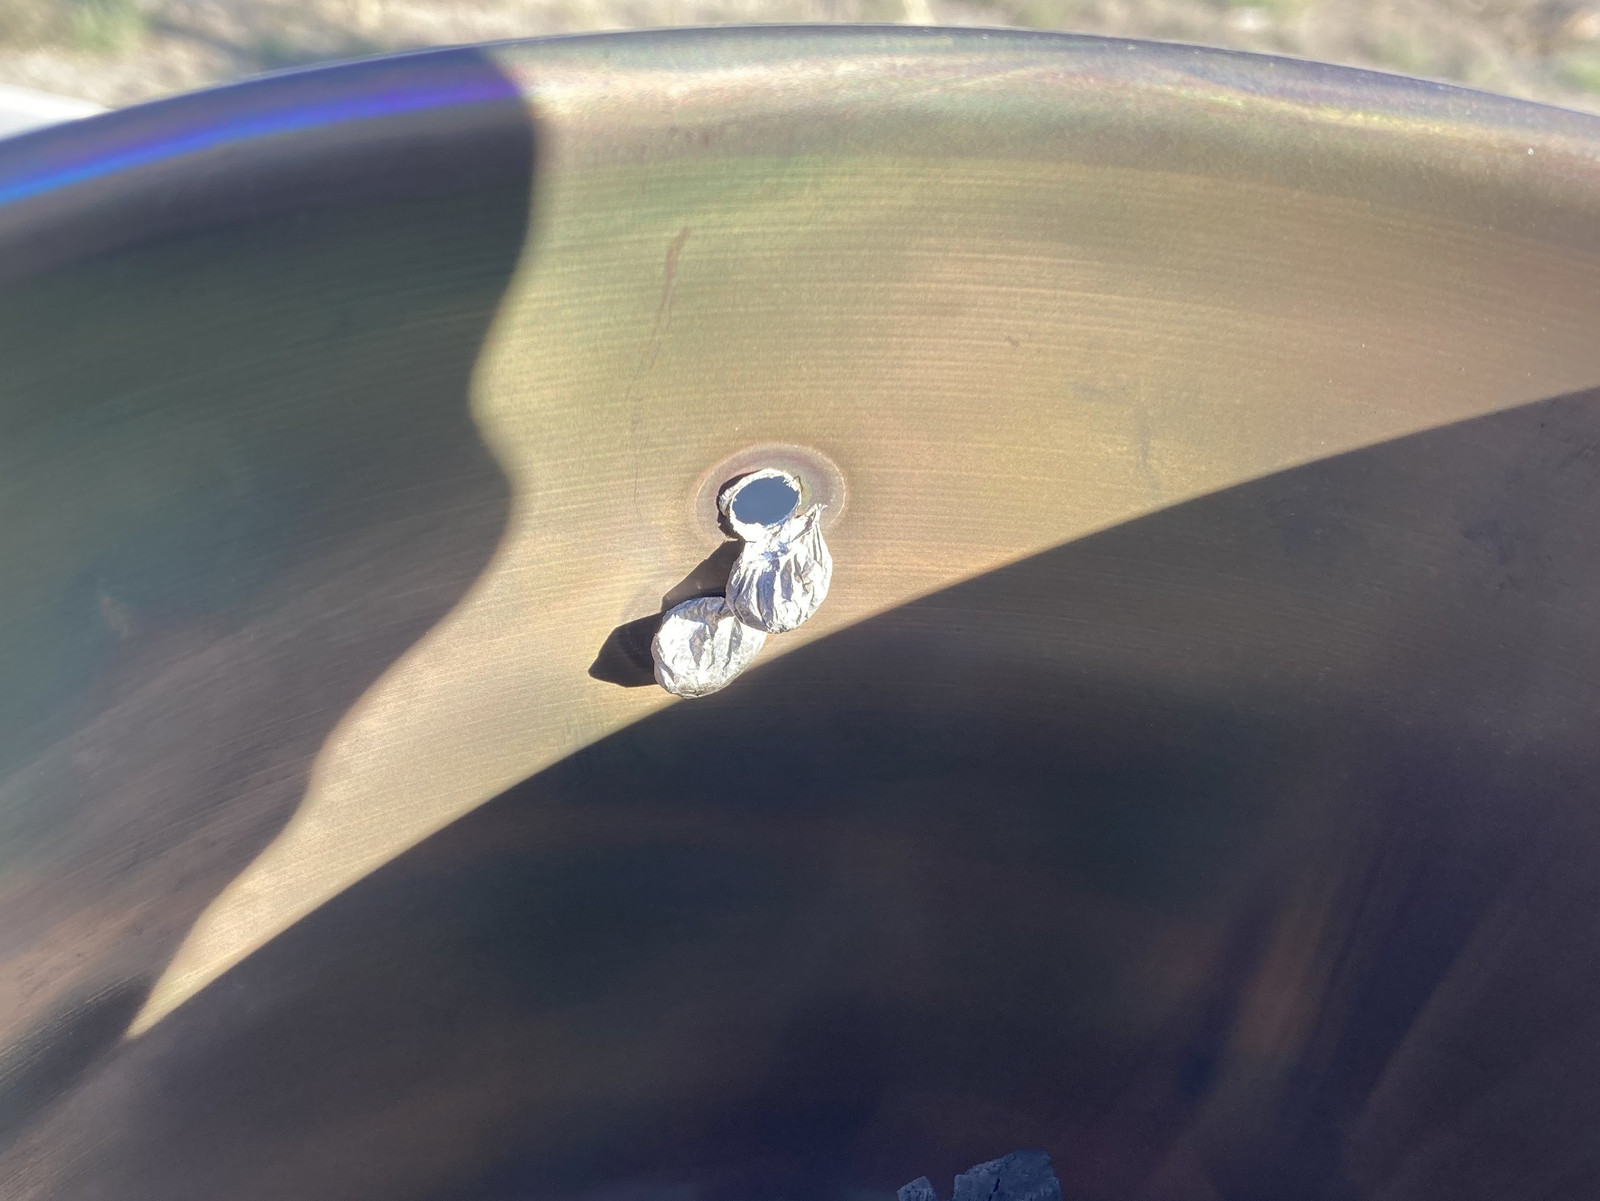
With a bit of drill and pliers time, I worked the aluminum out of the holes well enough that I could get a bolt through.
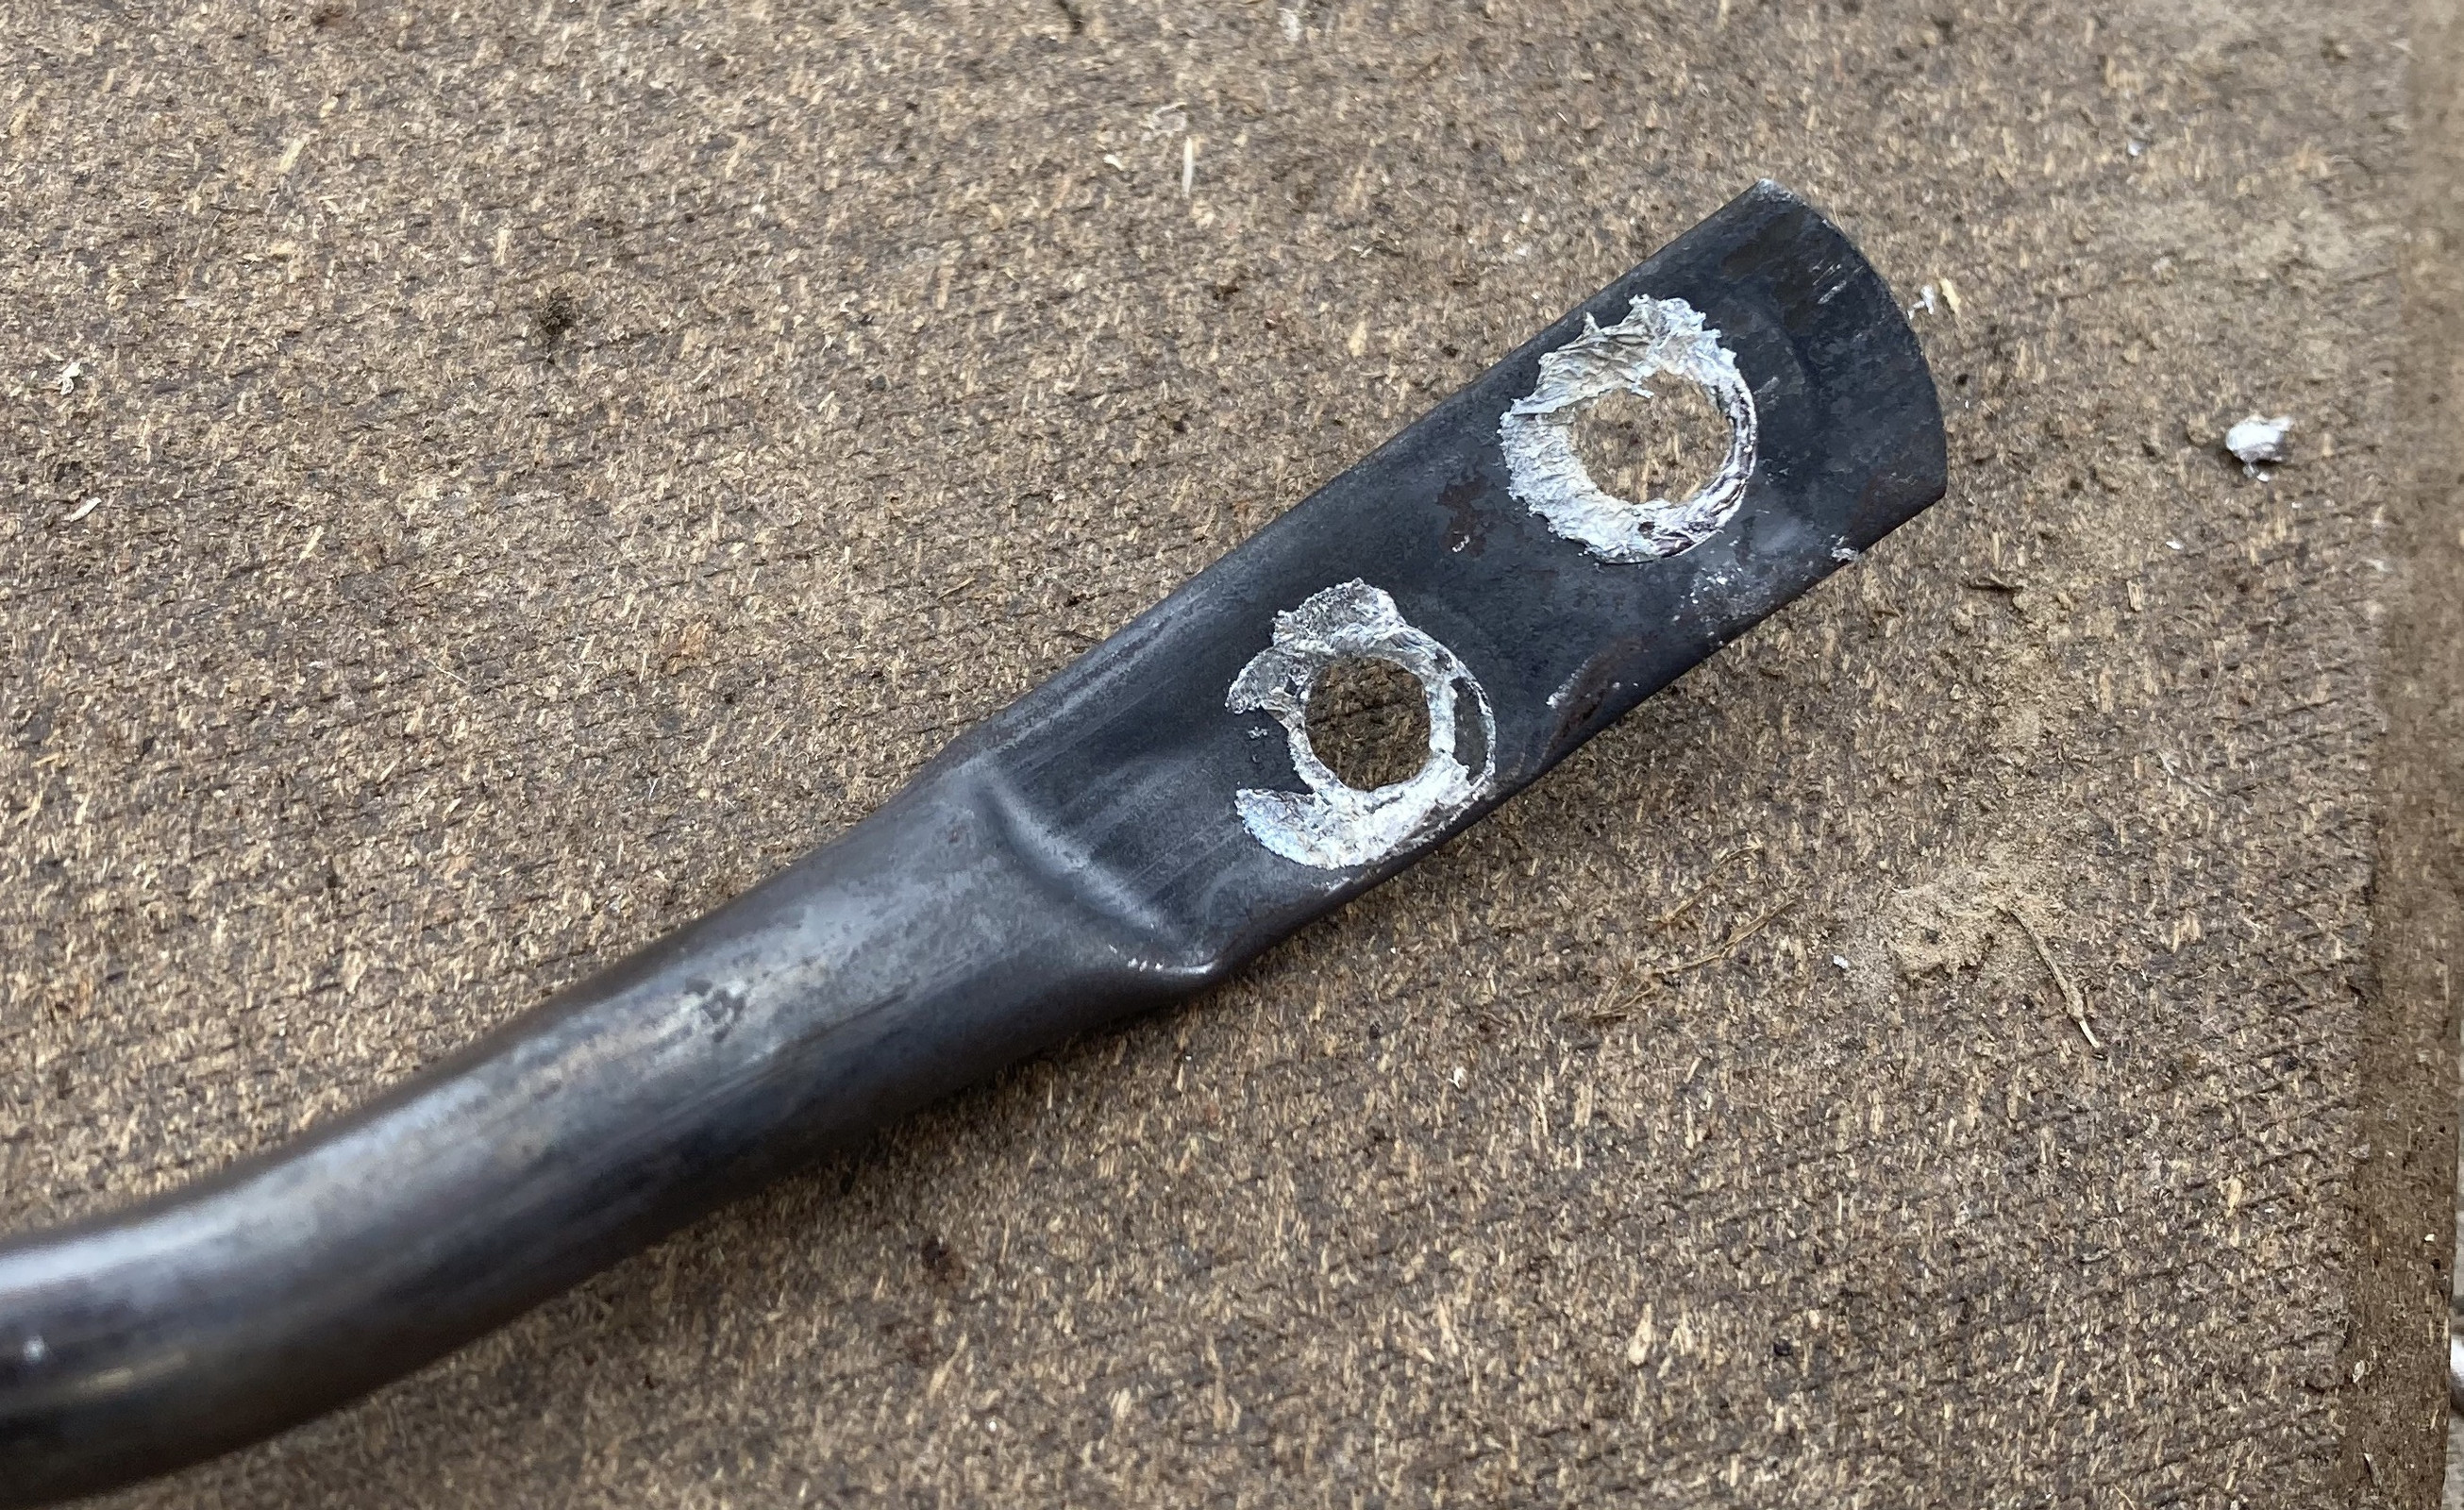
My local farm supply store has no shortage of random zinc (coated!) hardware. I’ll avoid being downwind of this when it cooks off for the first time, for when the coating vaporises, but it should handle the temperatures no problem.
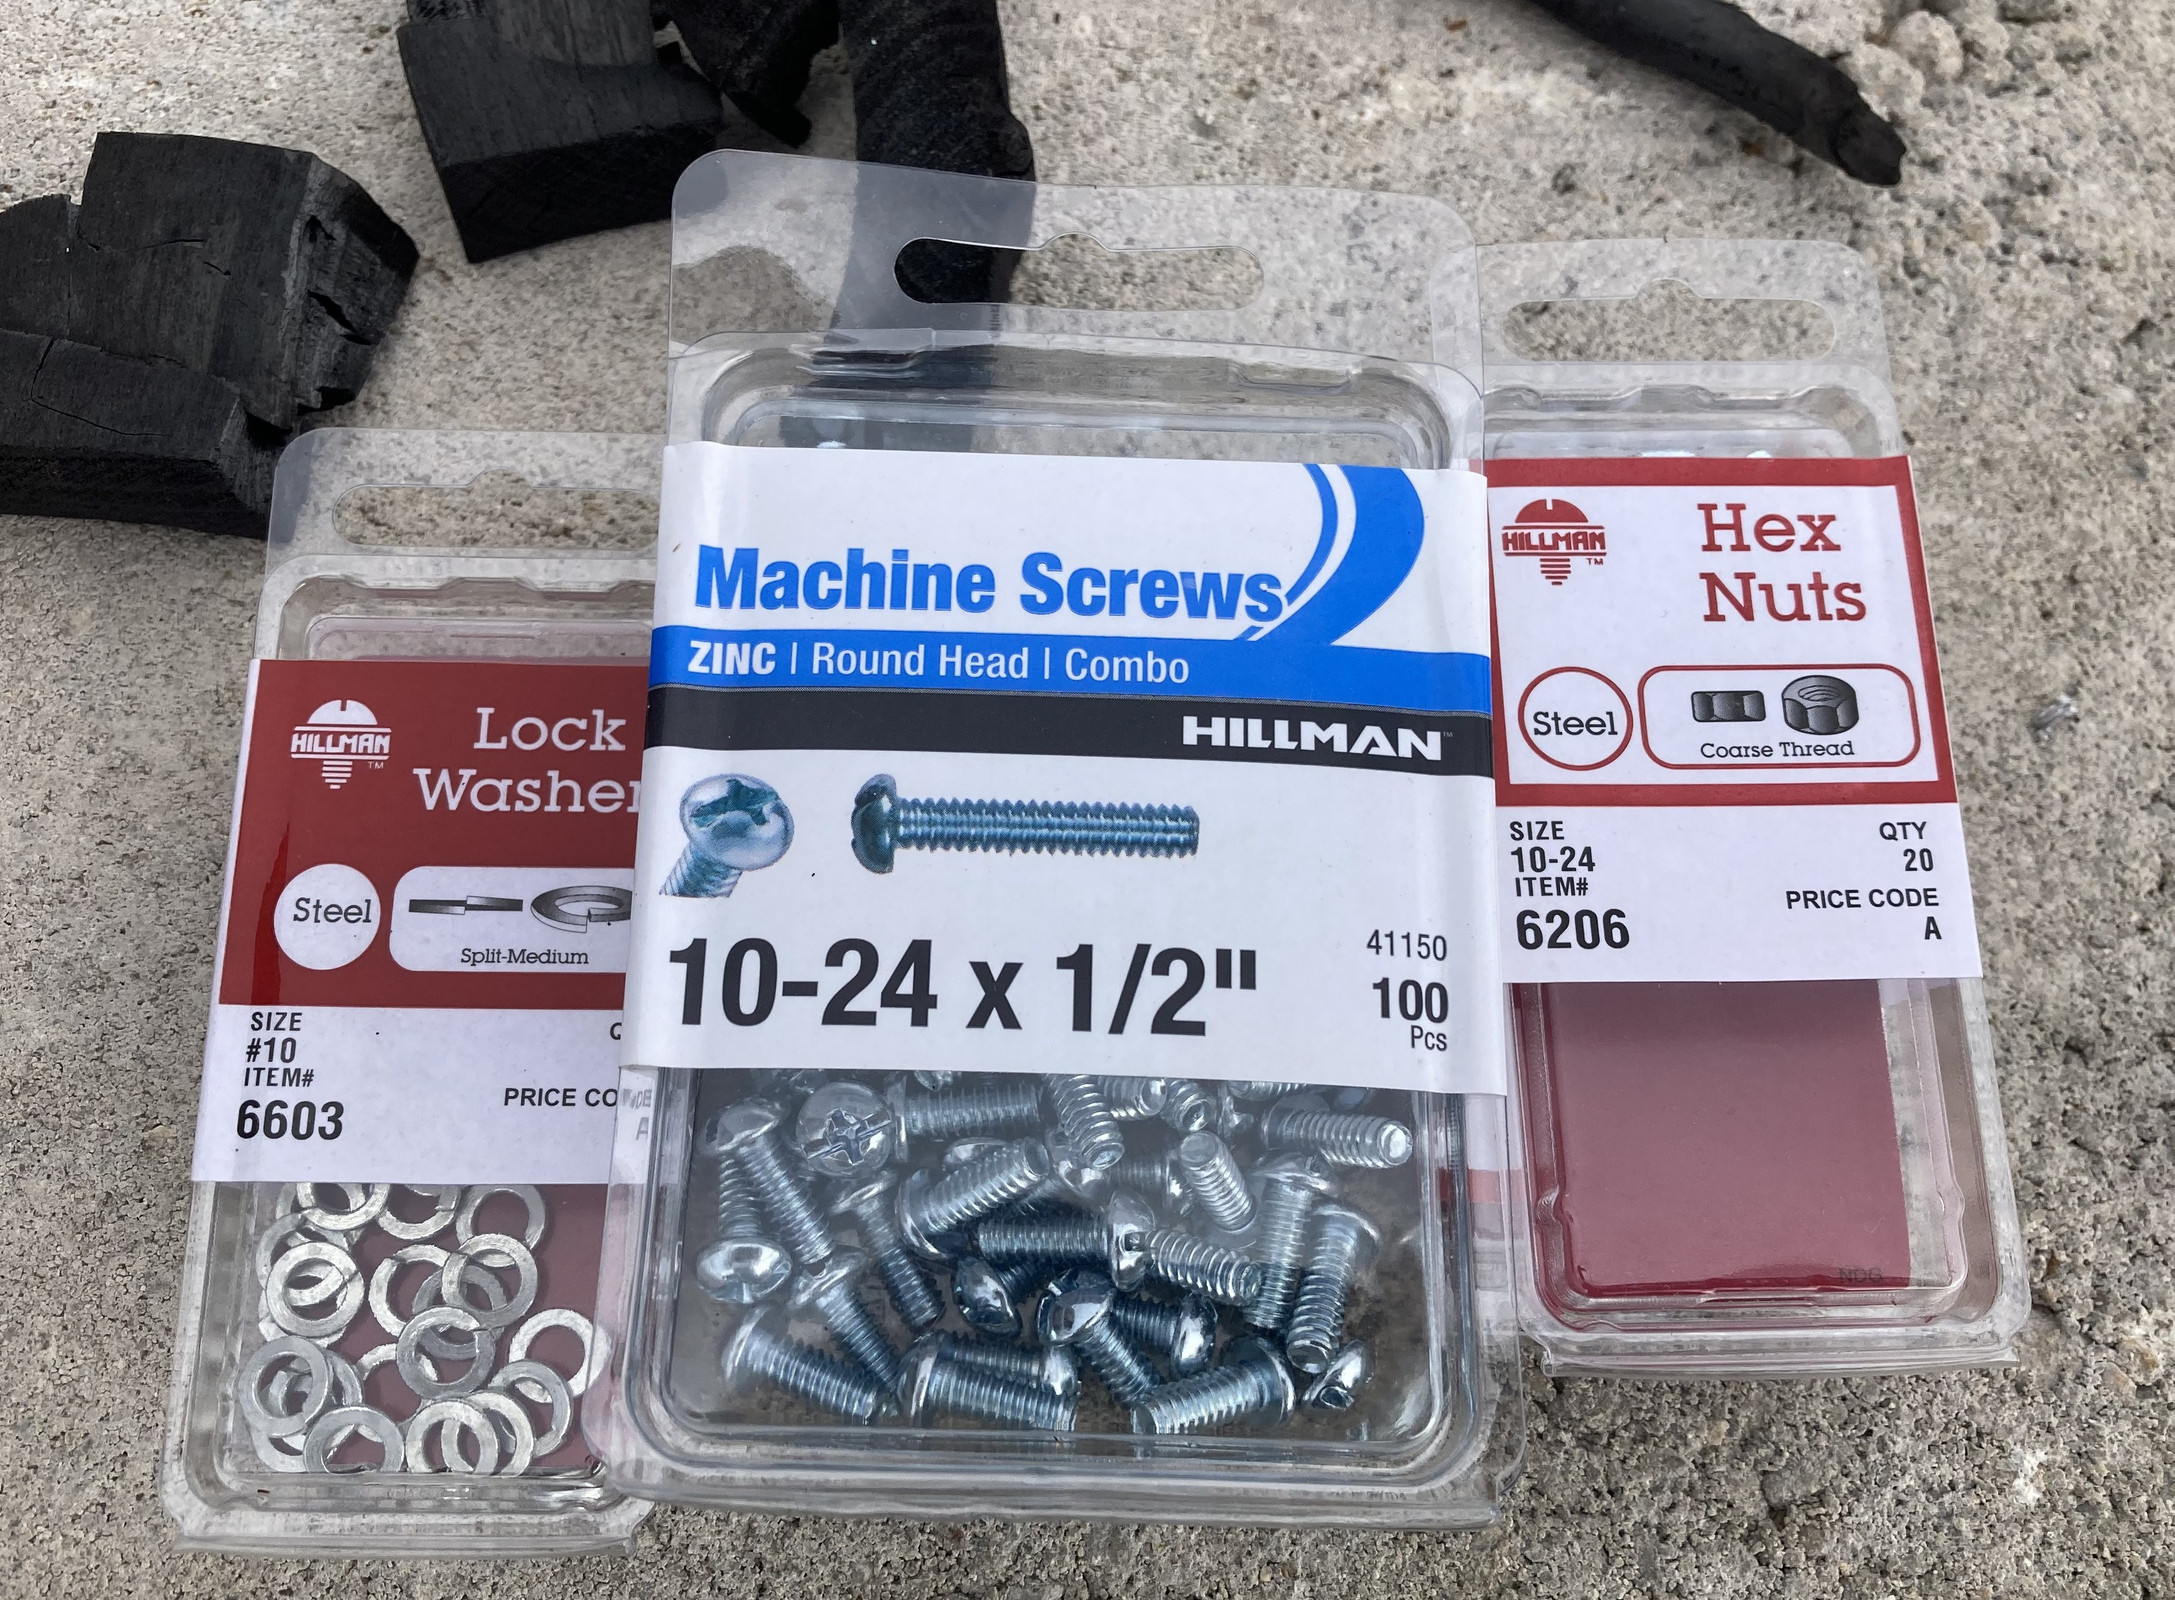
A bit of fiddling around and the handles are fastened in a more heat tolerant way. This should handle the temperatures involved without trouble.
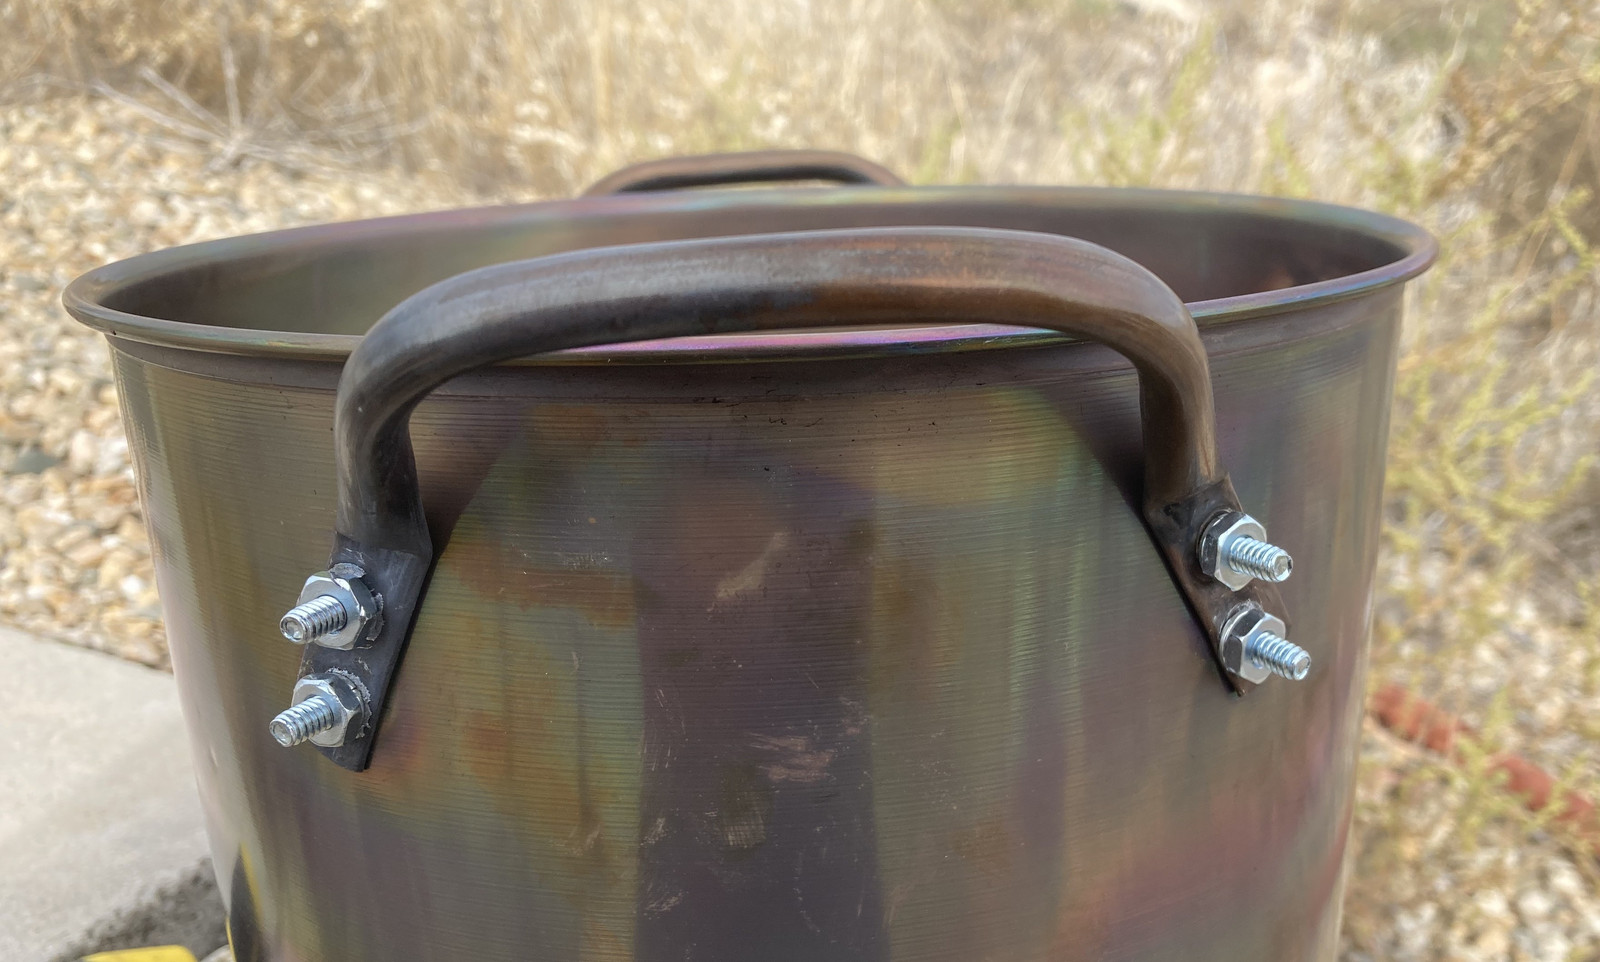
Of course, right after I’d installed them, I remembered the “single point lift” concept I’d been thinking about - so a hunk of chain got installed in place. This gives me a single place to lift and lower, which should be easier than trying to wrangle two handles together. Will it matter? I’ll know after experiment 2: Barkoal!
Also, if you’re following in my footsteps, use an even number of links in the chain. You notice the top link is “flat” across the top here - that’s more trouble than it’s worth to try and move around with a fire poker. Make it so it comes to a point at the top and it’s far easier to wrangle.
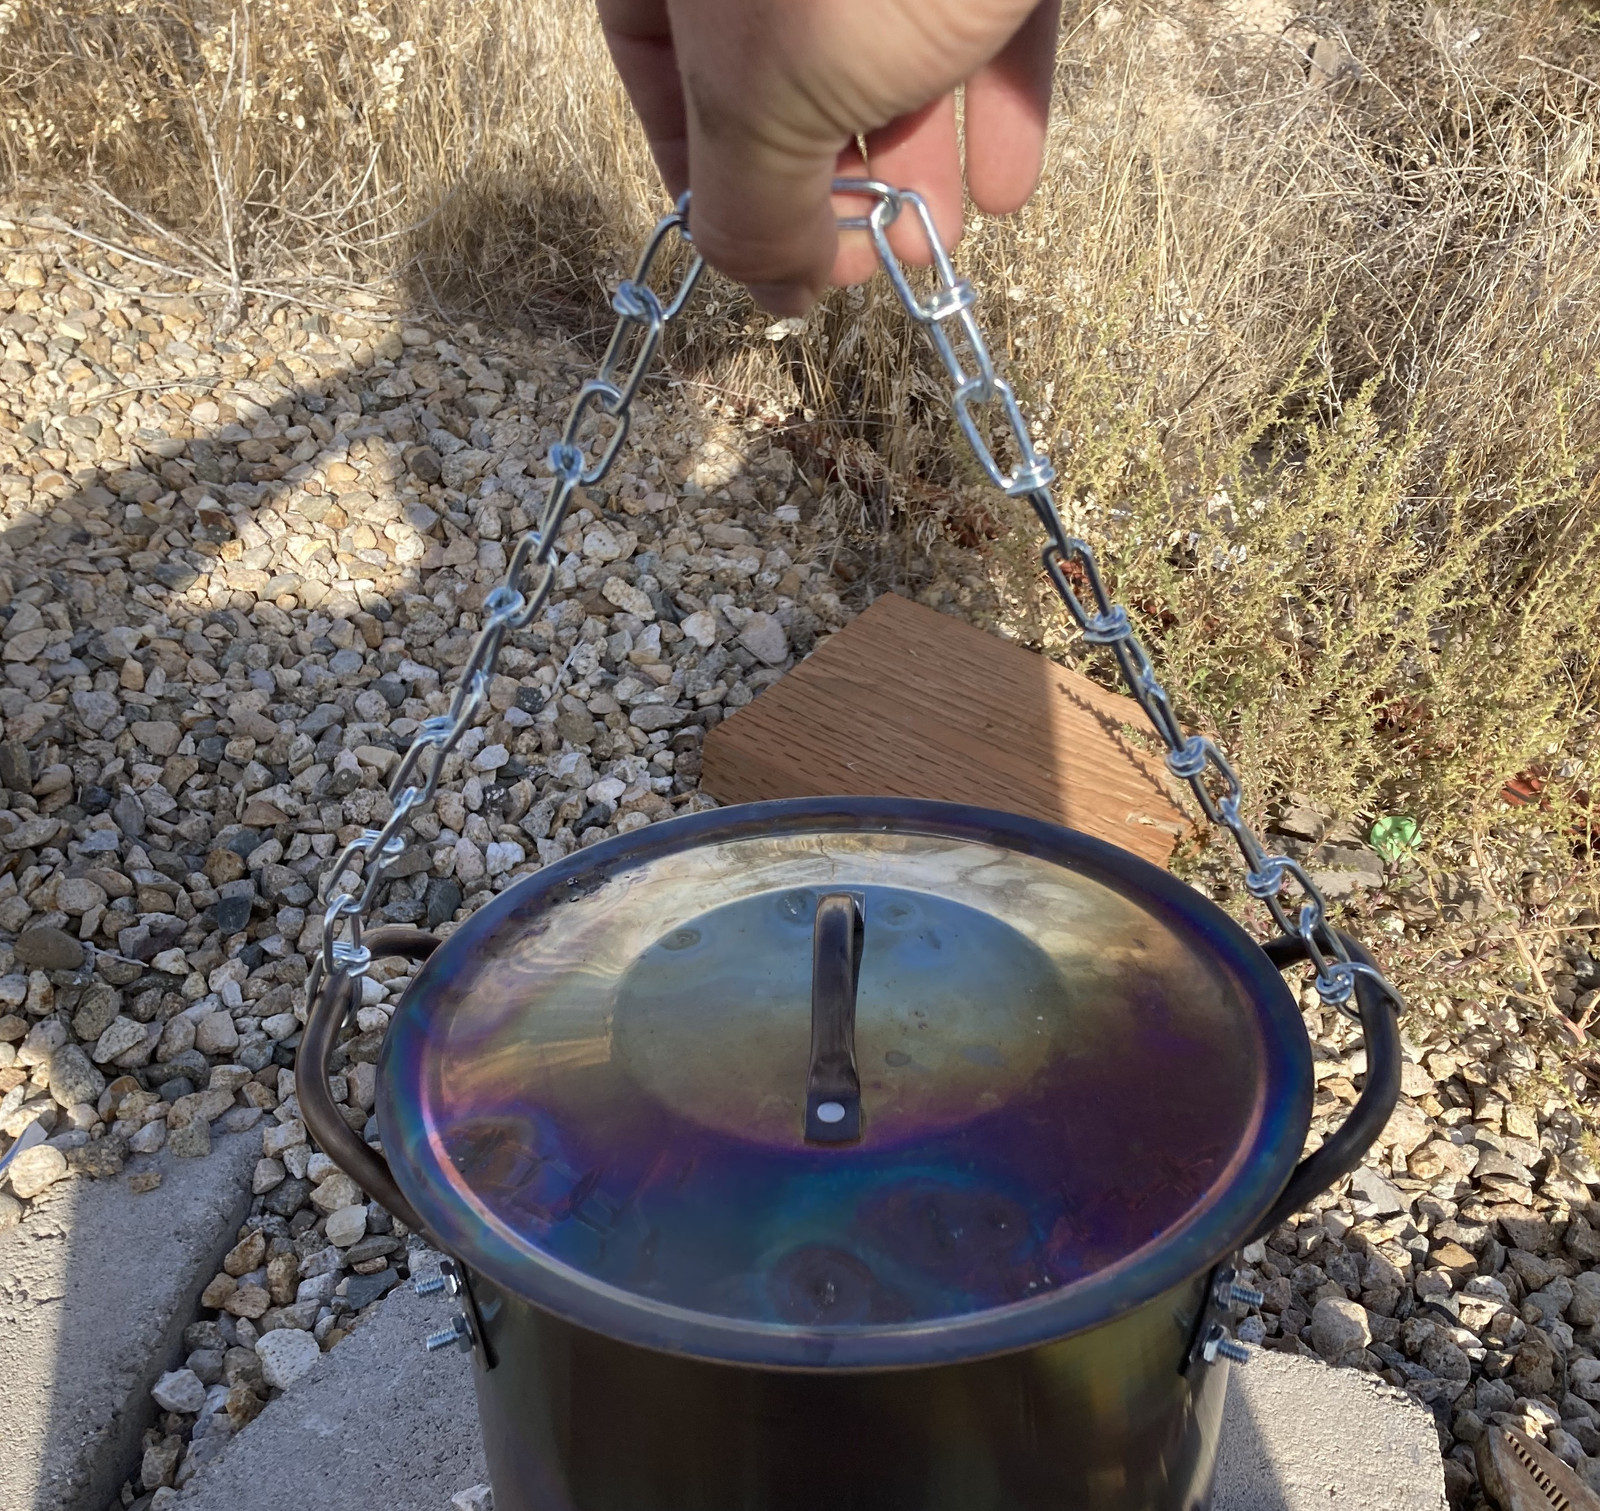
But, seriously. Get a pot with welded handles.
Experiment 2: Barkoal
It’s always said, “Don’t use bark for your charcoal.” I can’t find out why, though - so, having a significant supply of it, and not caring if my charcoal for biochar purposes is a crumbly mess, I decided to find out! It’s simple enough: Load the retort with bark and light it off.
There’s a bunch of new zinc coated metal here, so you really don’t want to be downwind of it as it cooks off the first time. After you’ve baked the zinc off, it’s fine - treat it normally.
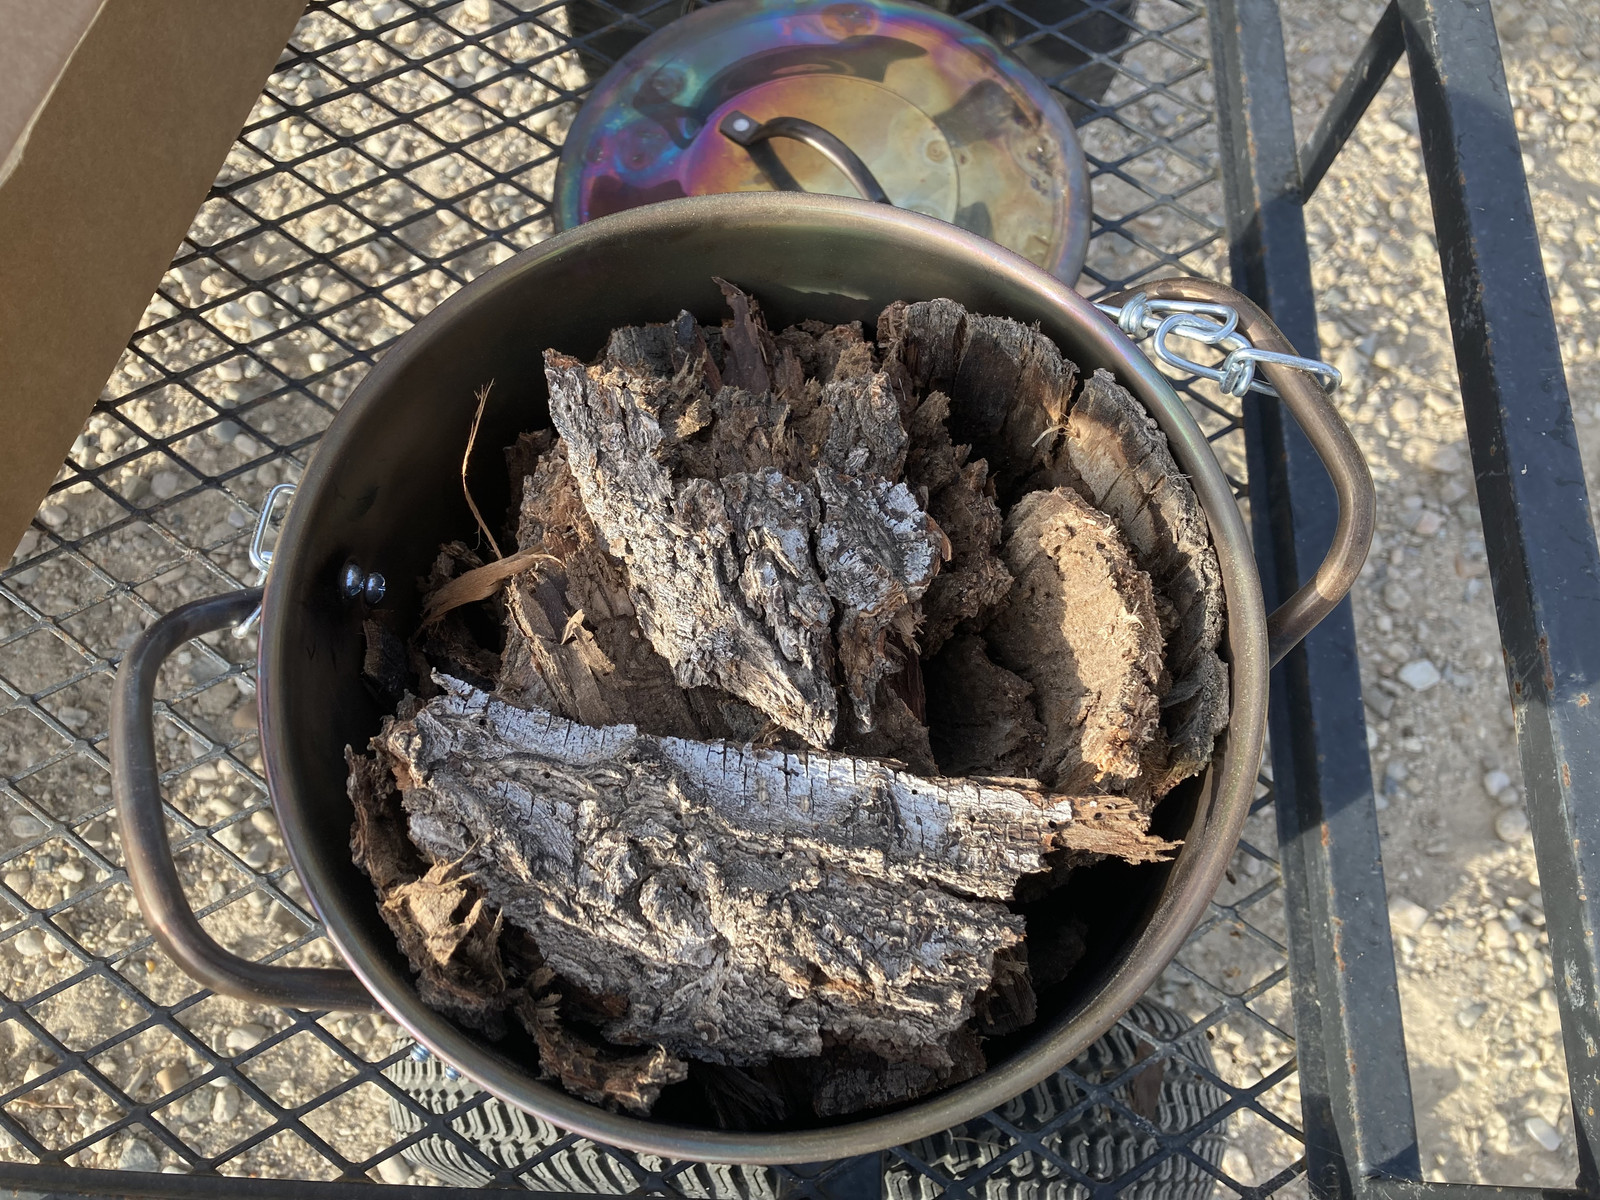
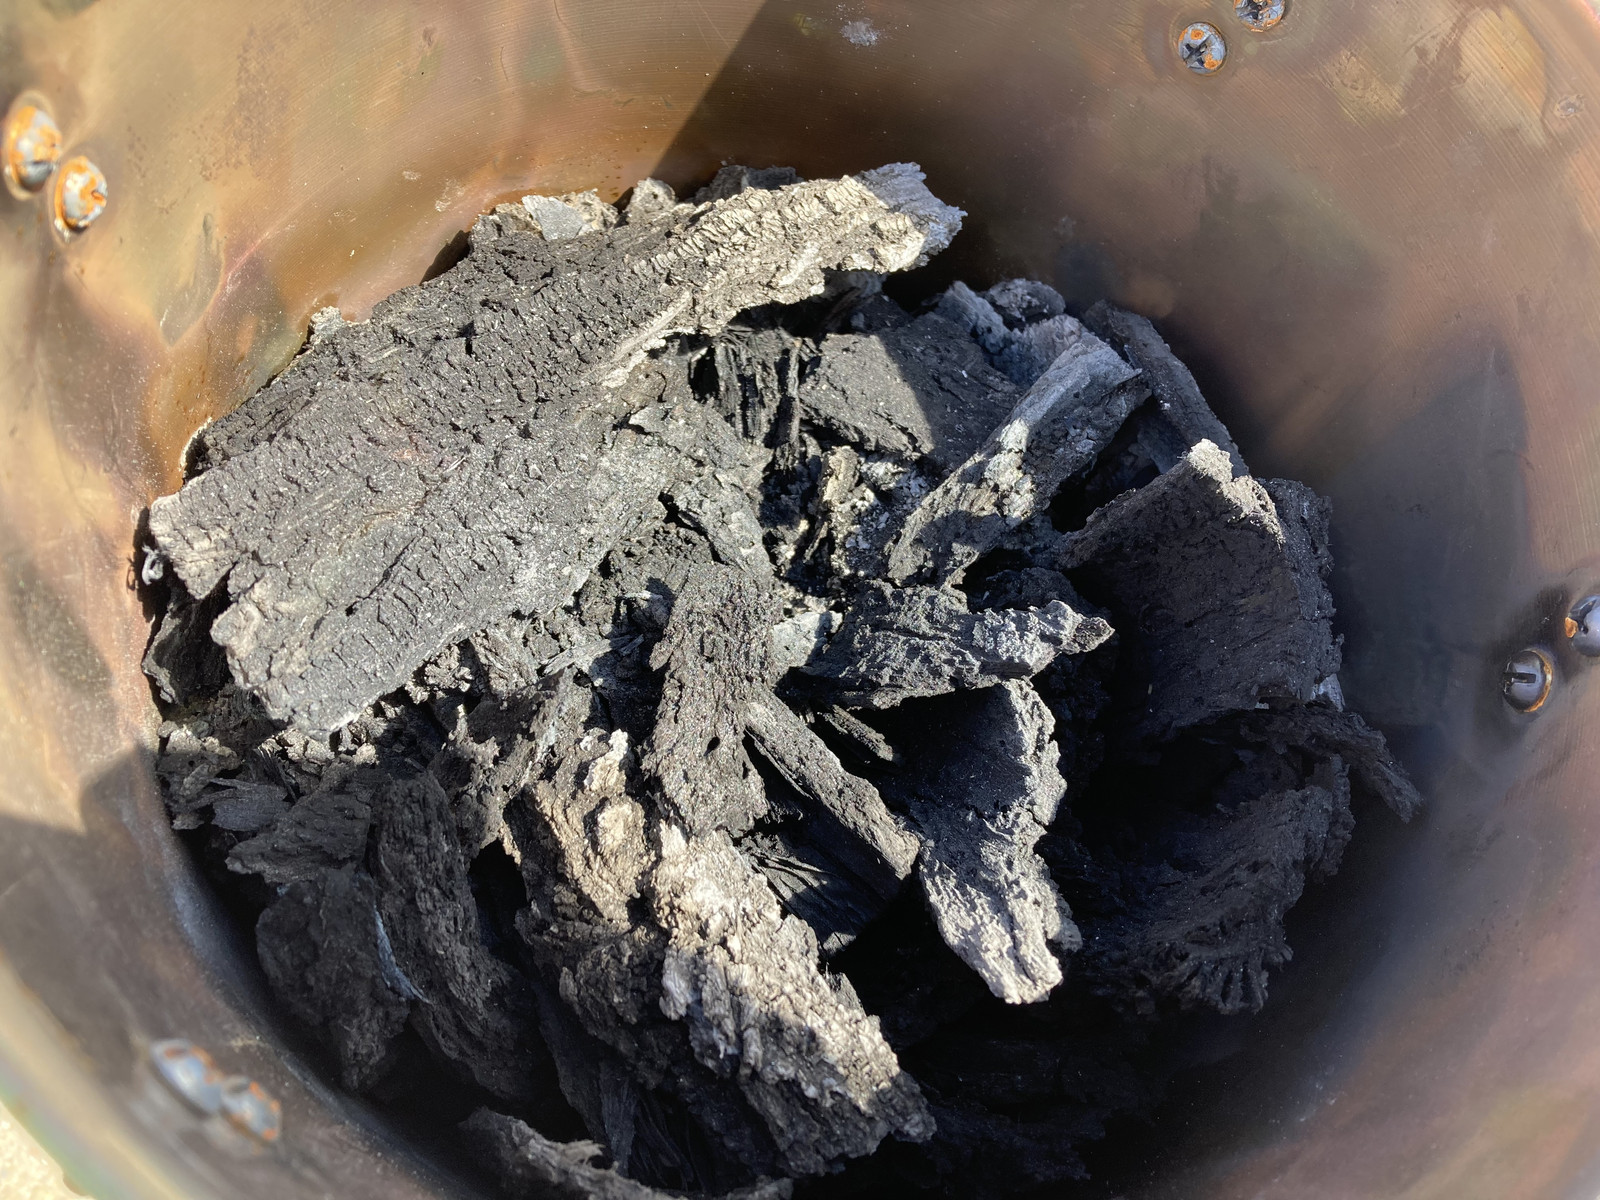
The results are crumbly, crappy feeling charcoal. I agree - this isn’t any sort of fine charcoal, and it took a while to burn down - the bark is definitely harder to burn than regular wood. But, the result is probably fine for biochar purposes. I just wouldn’t use it for anything else. But, if you’ve got bark and you want biochar, it’s a usable resource.
Experiment 3 & 4: Scrap Firewood
My third experiment was with a bunch of scrap wood from a delivery of firewood. I don’t heat on wood, but I know a lot of people who do, and I sent a group of kids out for gleaning after a winter’s worth had been split. This is where my bark came from as well - but I have boxes of the small stuff. And it burns down just fine to a nice, crisp, tinkly sounding charcoal!
Experiment 5: Branches
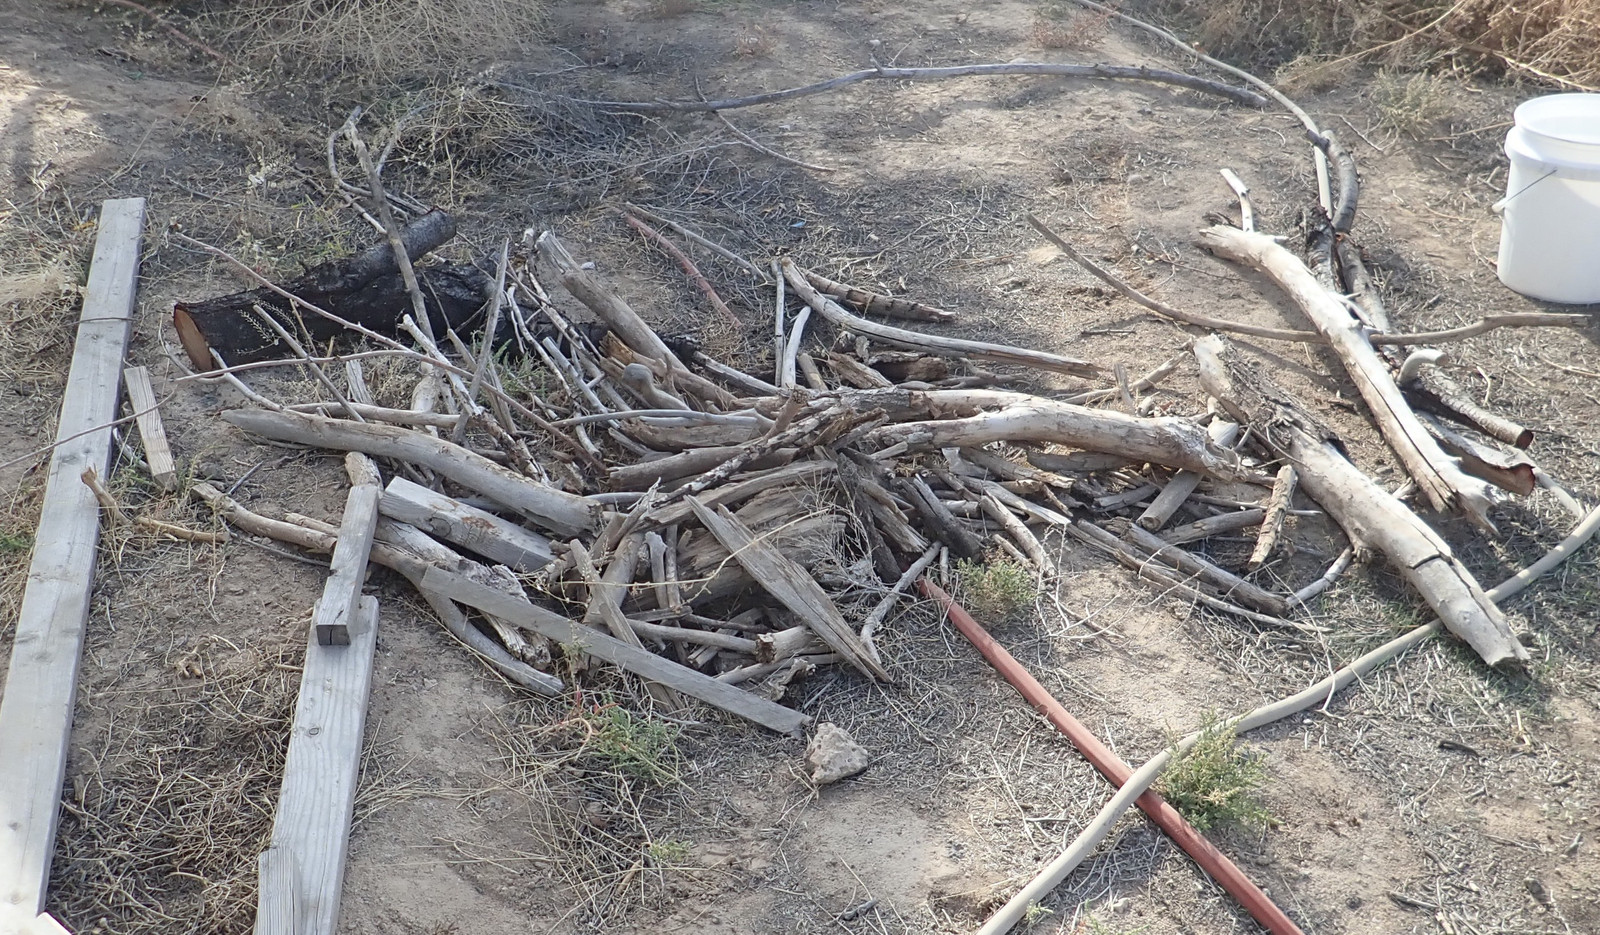
We had a bunch of branches left over from various dead trees on the hill - so I decided to try and process some of those down into shorter lengths as well. I don’t have a good sense of the upper size limit for this retort method - so I’m going to push it until I get things that don’t charcoal completely.
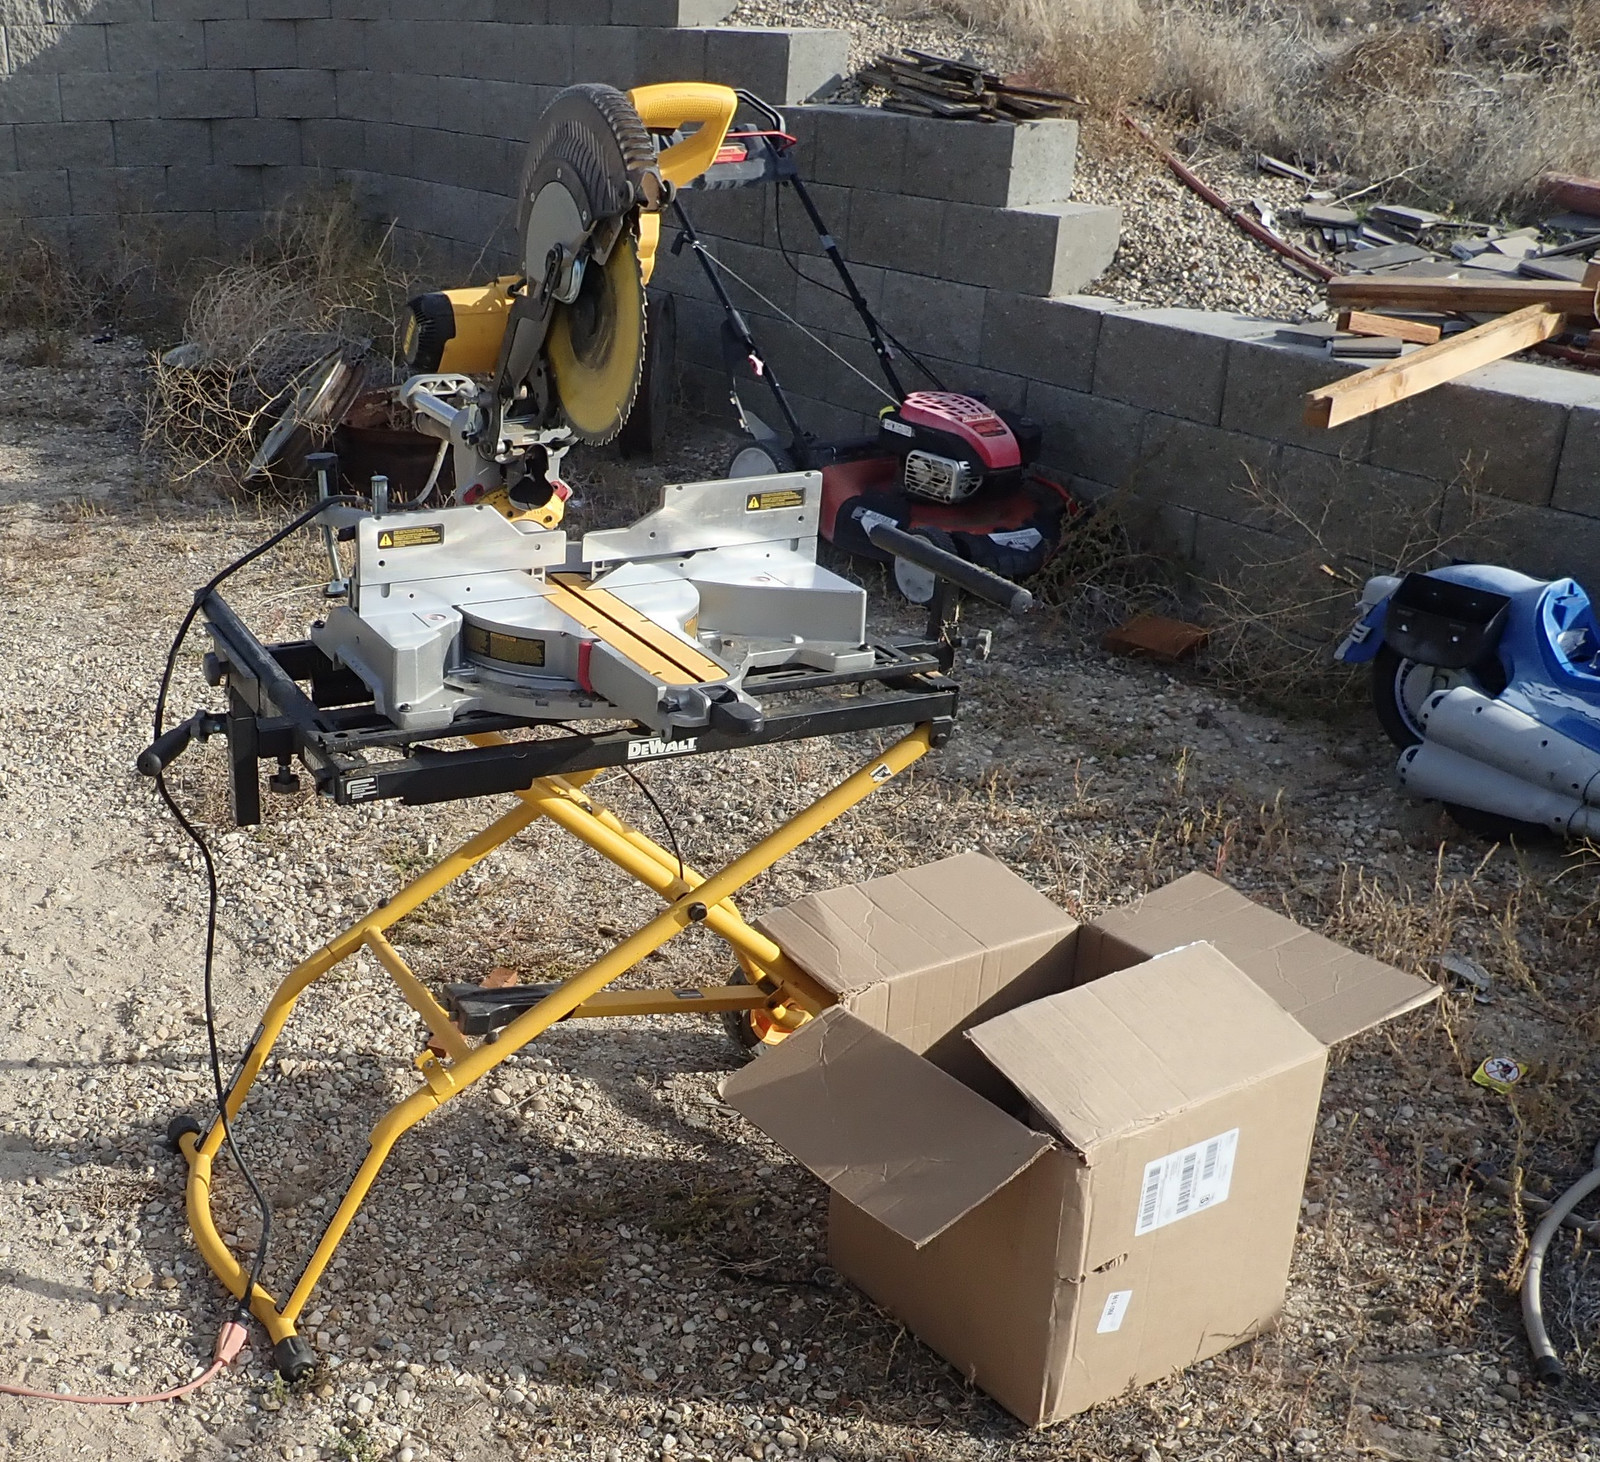
As shouldn’t surprise people, a compound miter saw comes out to hack the wood into smaller pieces. It’s just not worth the chainsaw for these.
I’m building up quite a supply of scrap wood to feed into retorts, and I may need to scale my production up at some point soon.
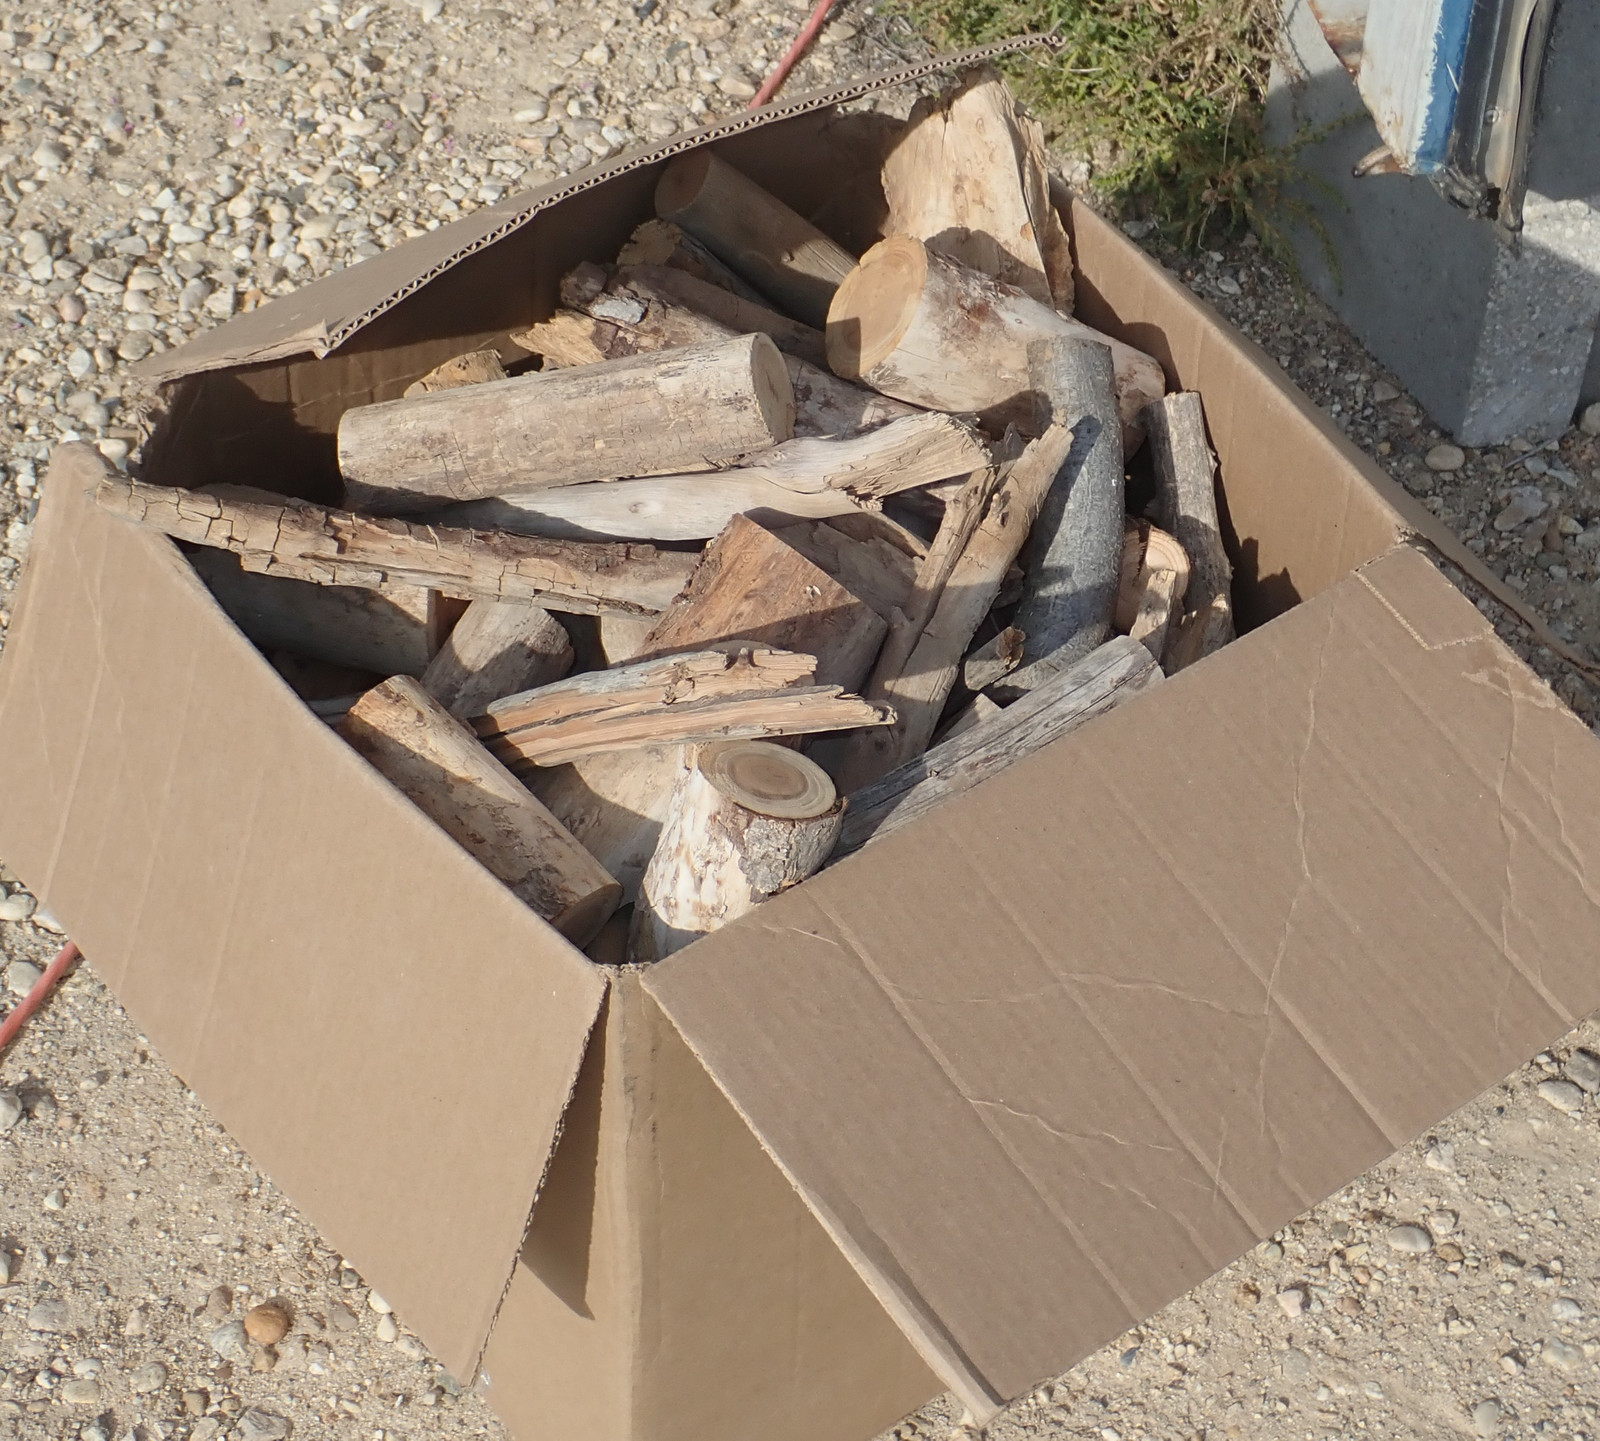
It’s collecting - between the scrap wood, cull wood, etc, I have no shortage of raw materials right now! This is only part of the collection!
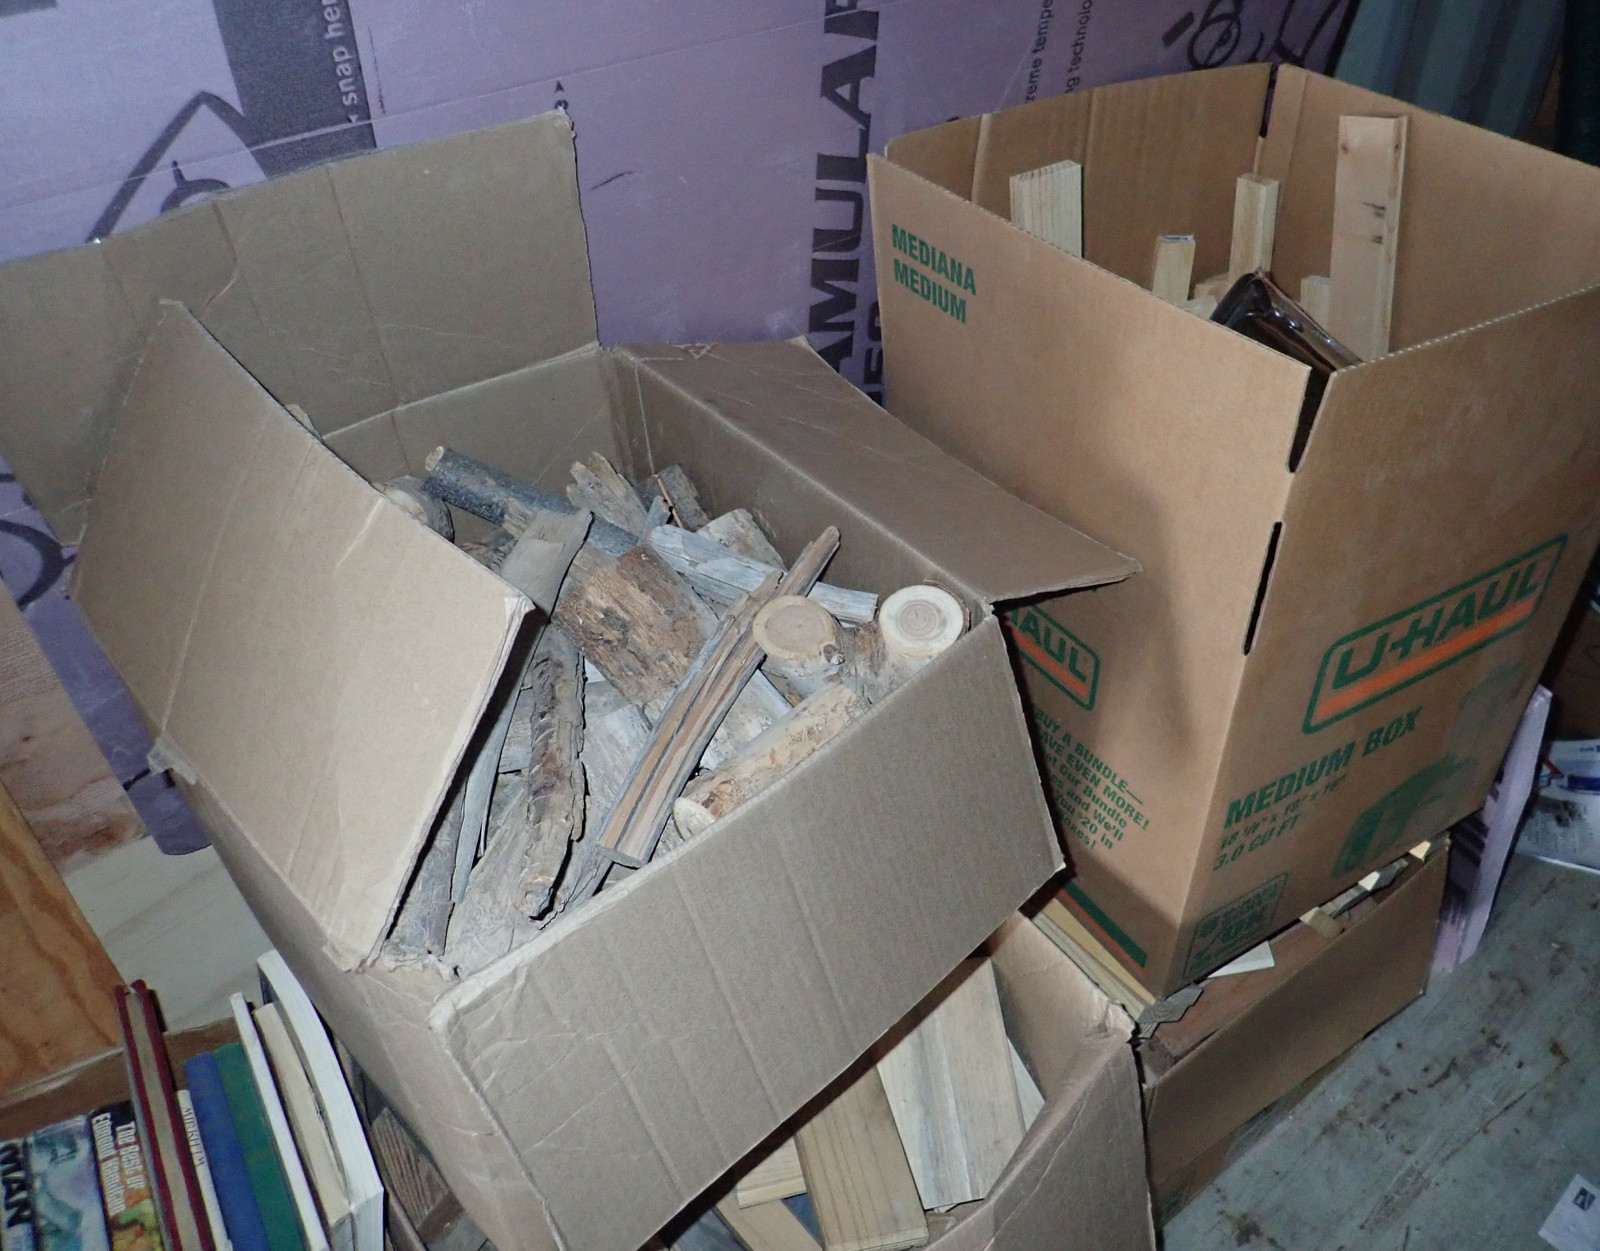
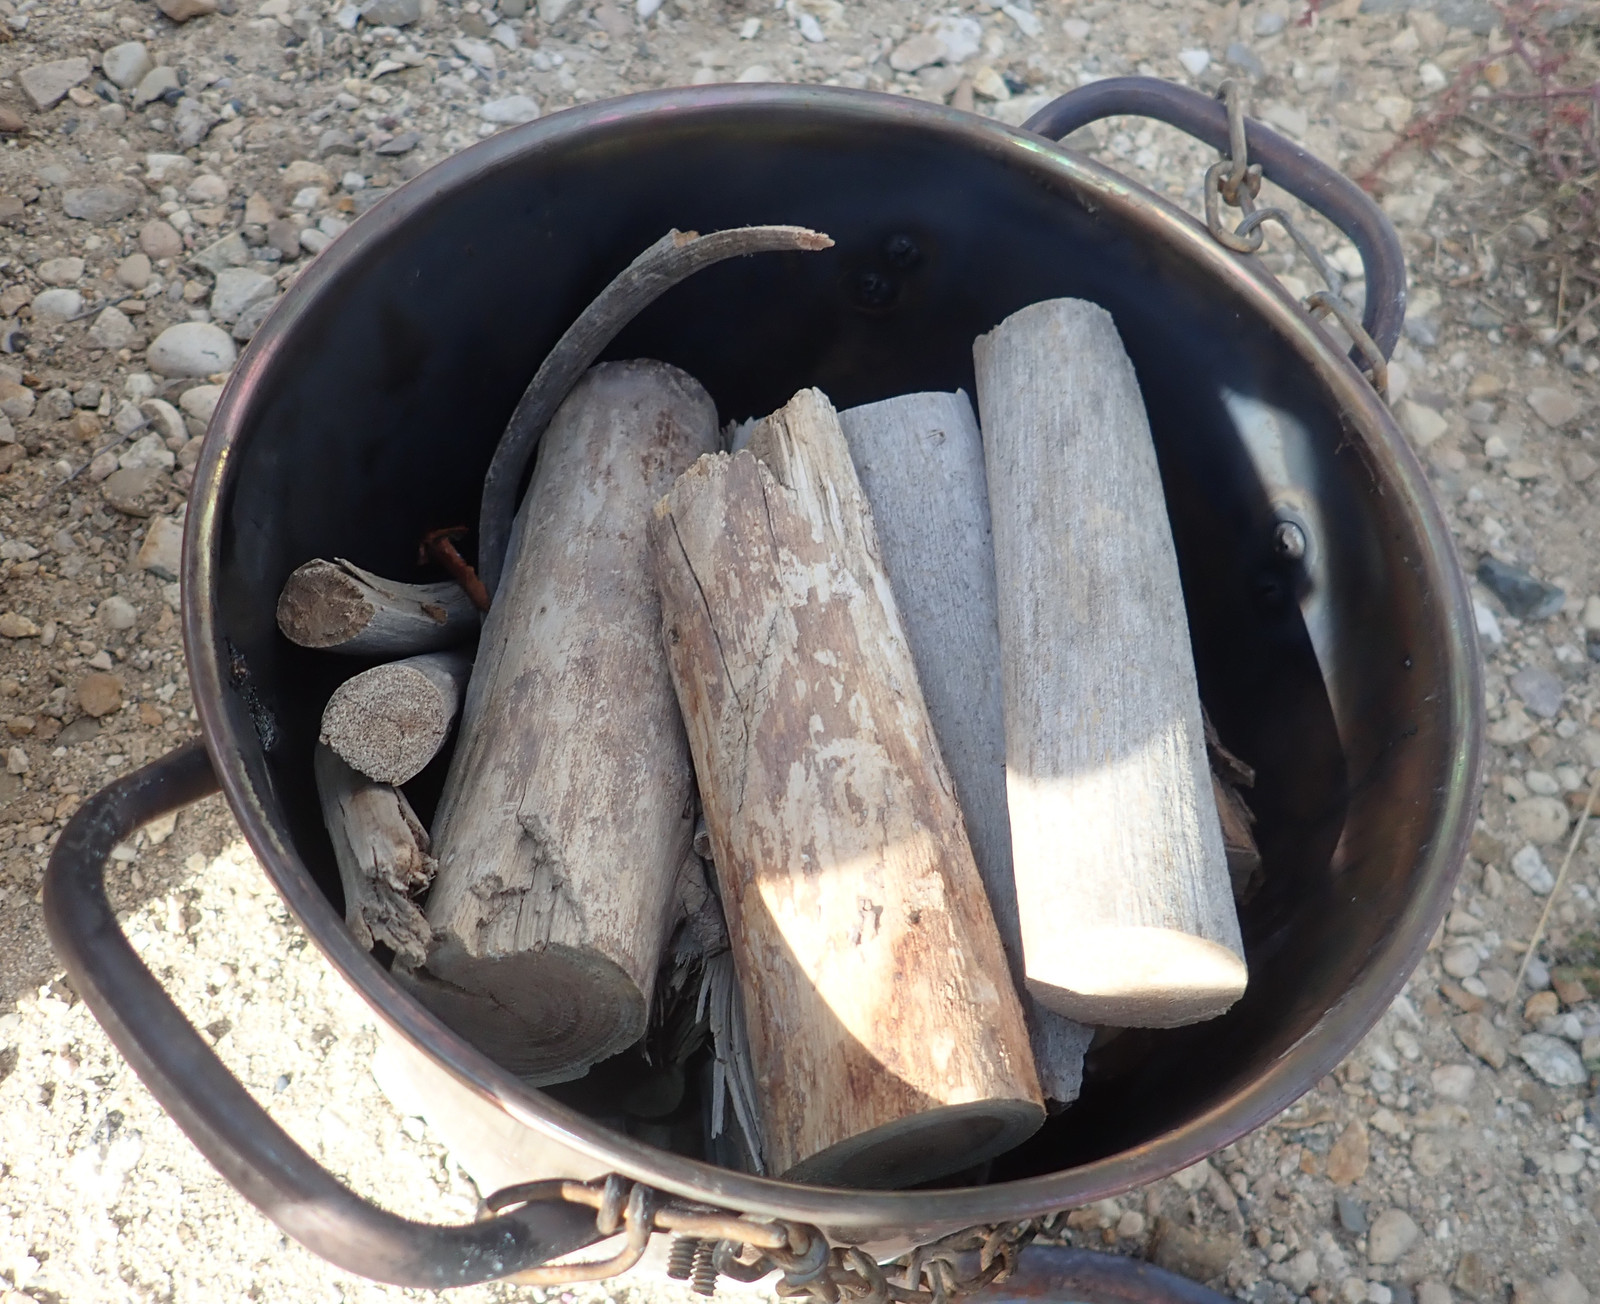
I filled the retort with some larger pieces and tossed it in the fire. The largest of these are maybe 1.5-2” diameter.
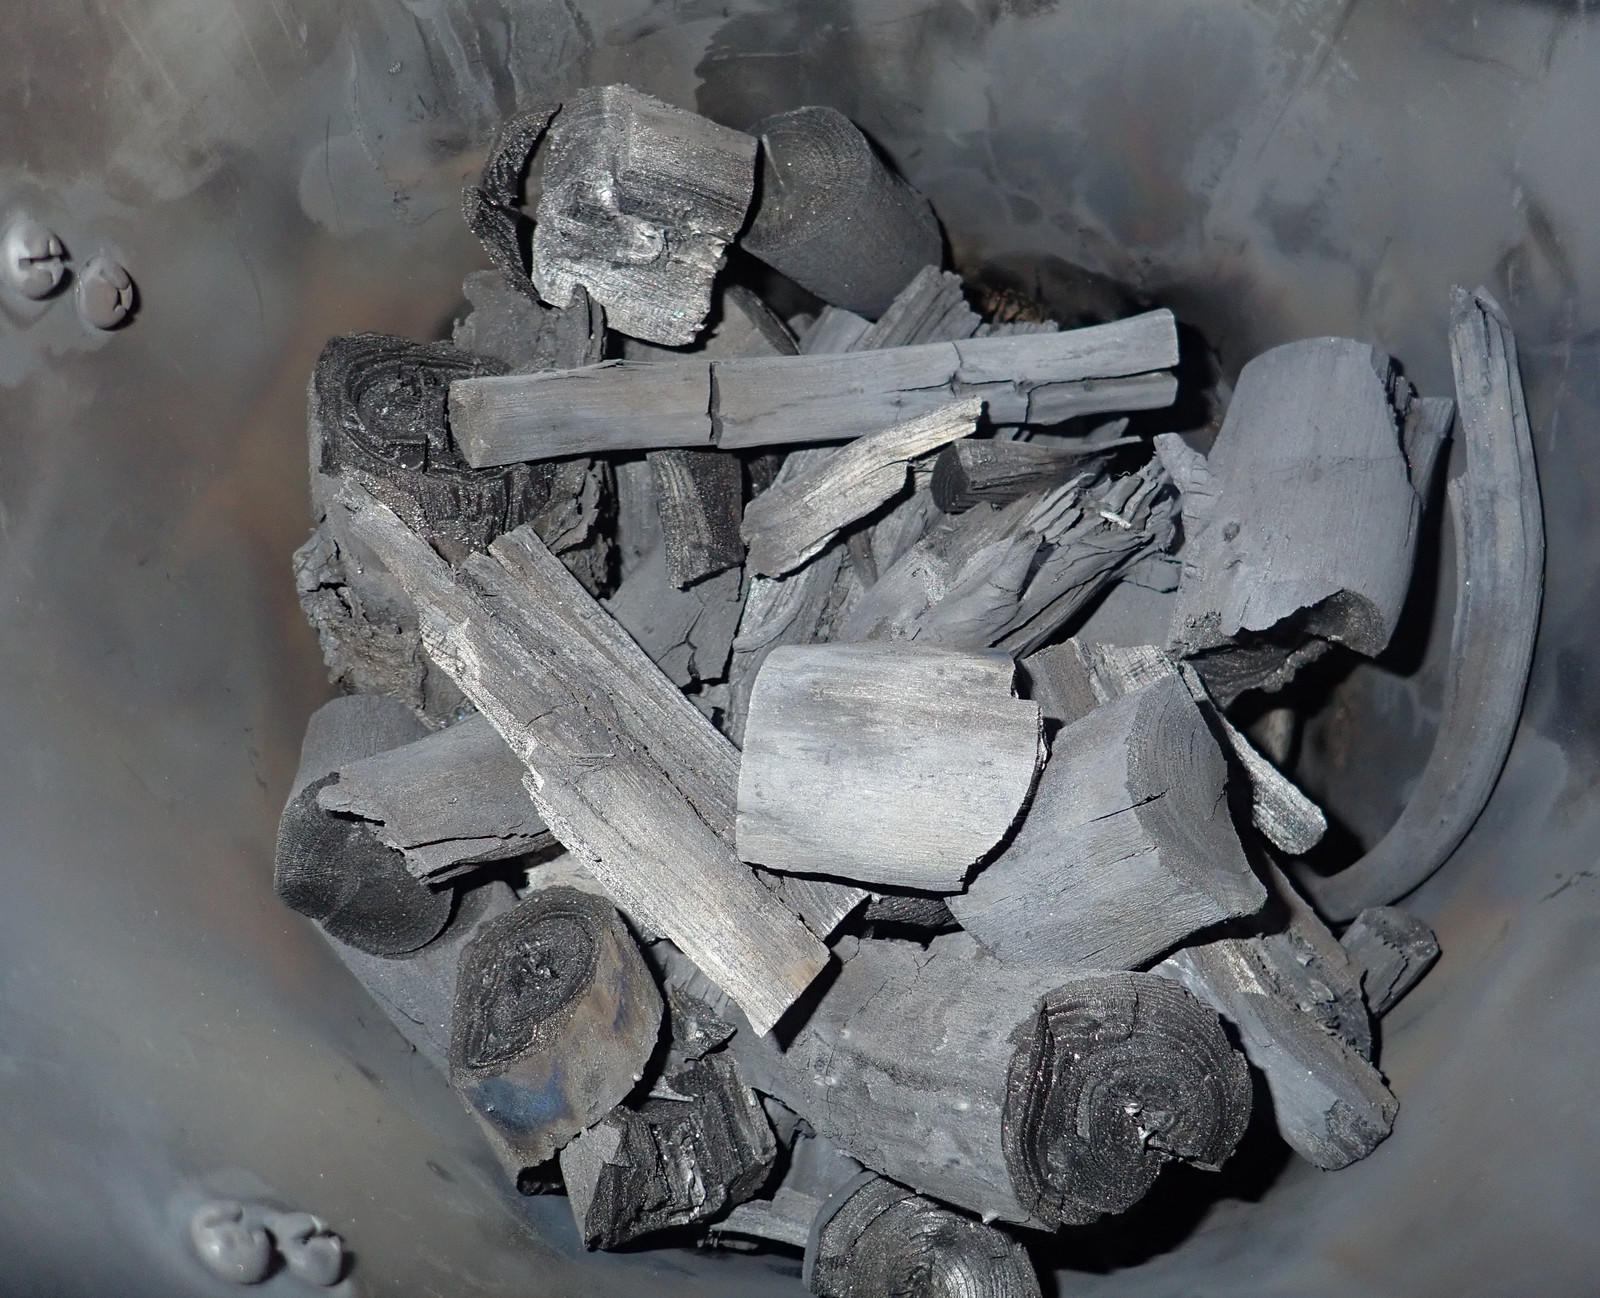
The main difference here is that it took a lot longer to cool down. Normally, the next morning everything is cool - but this run was still “crinkly” when I opened it in the morning, which means charcoal is still hot enough to react. After about 24h, it has cooled down to the point where I could poke with it, and after breaking a few of the larger pieces apart, everything seemed charcoaled. I’m not sure that the biggest of the pieces were fully baked out on the inside - they sounded slightly deader than the small material, but they’re definitely charcoal.
Experiment 6: But Bigger
The next one, I expect to fail - but this is the best way to find the limits of my current process! Even larger pieces went in.
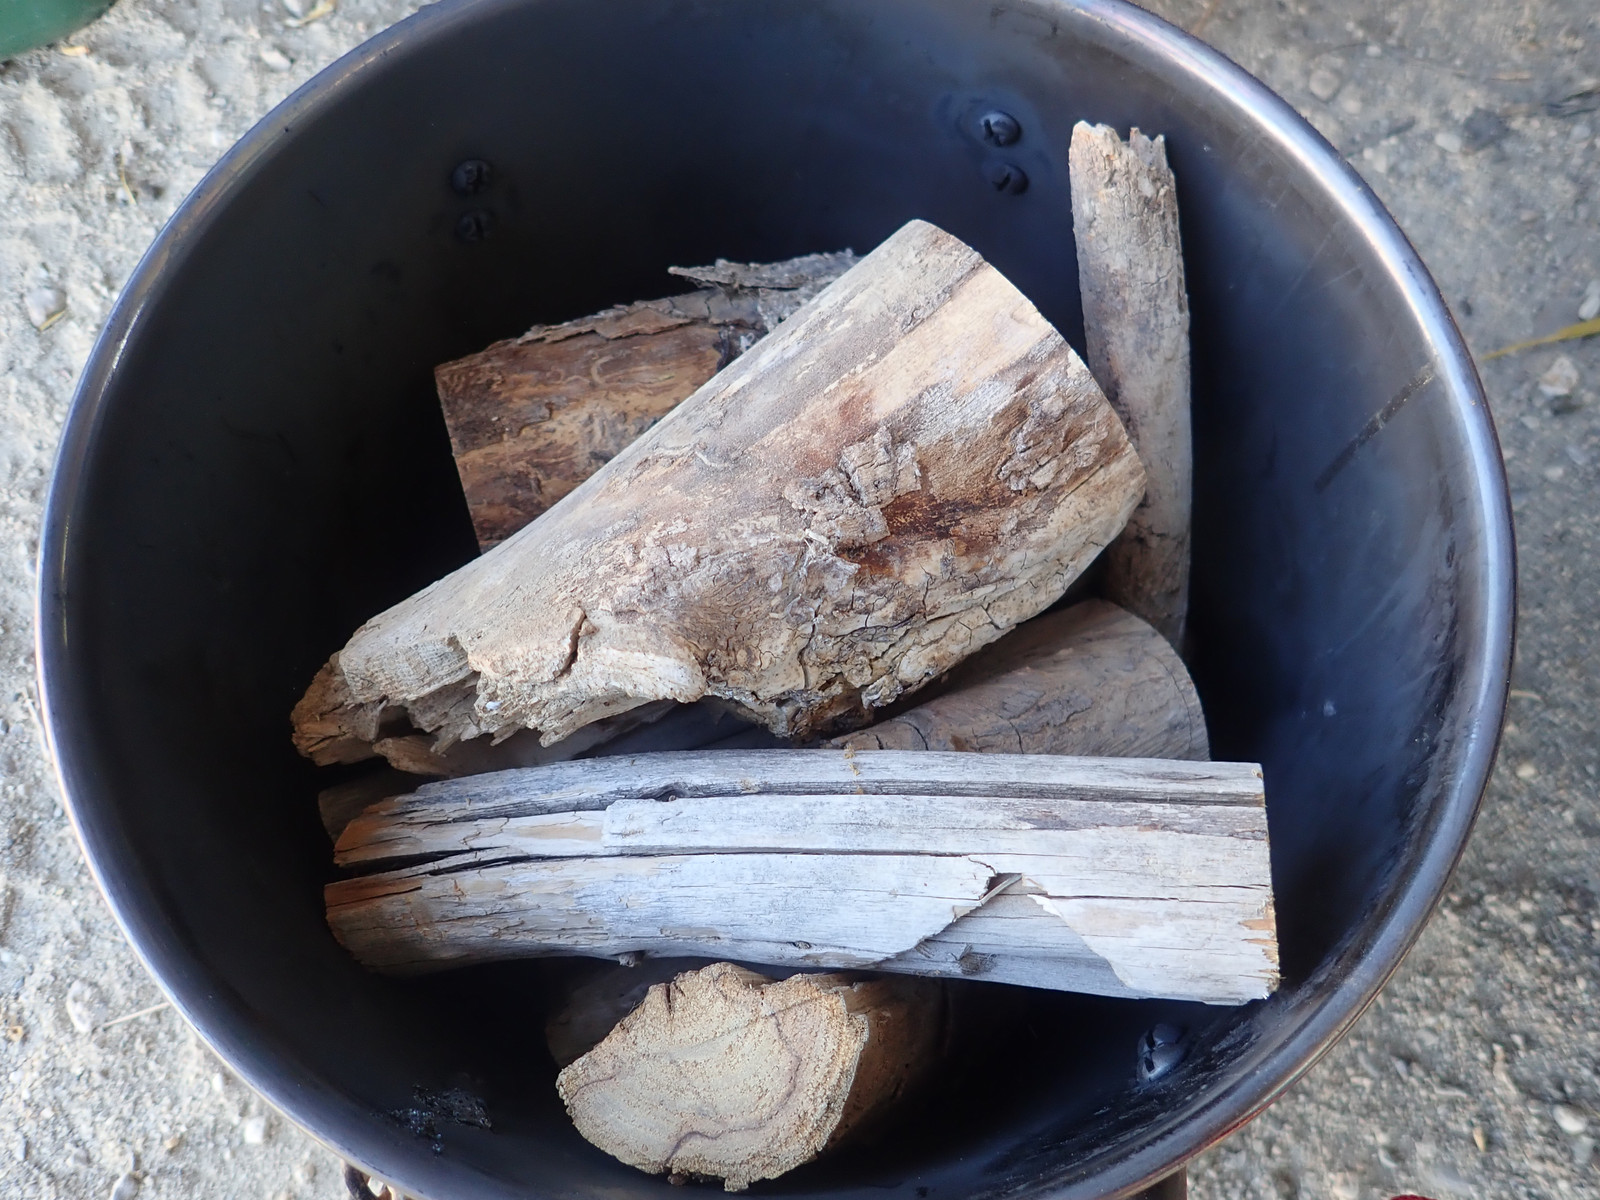
It didn’t. It just took longer to charcoal. At this point, I think I’ve hit the limits of what I can learn on this particular retort design, so I’m on to something a bit fancier. This retort design works fine, but doesn’t reuse any of the produced gases for heating purposes.
New Design: Bottom Vents
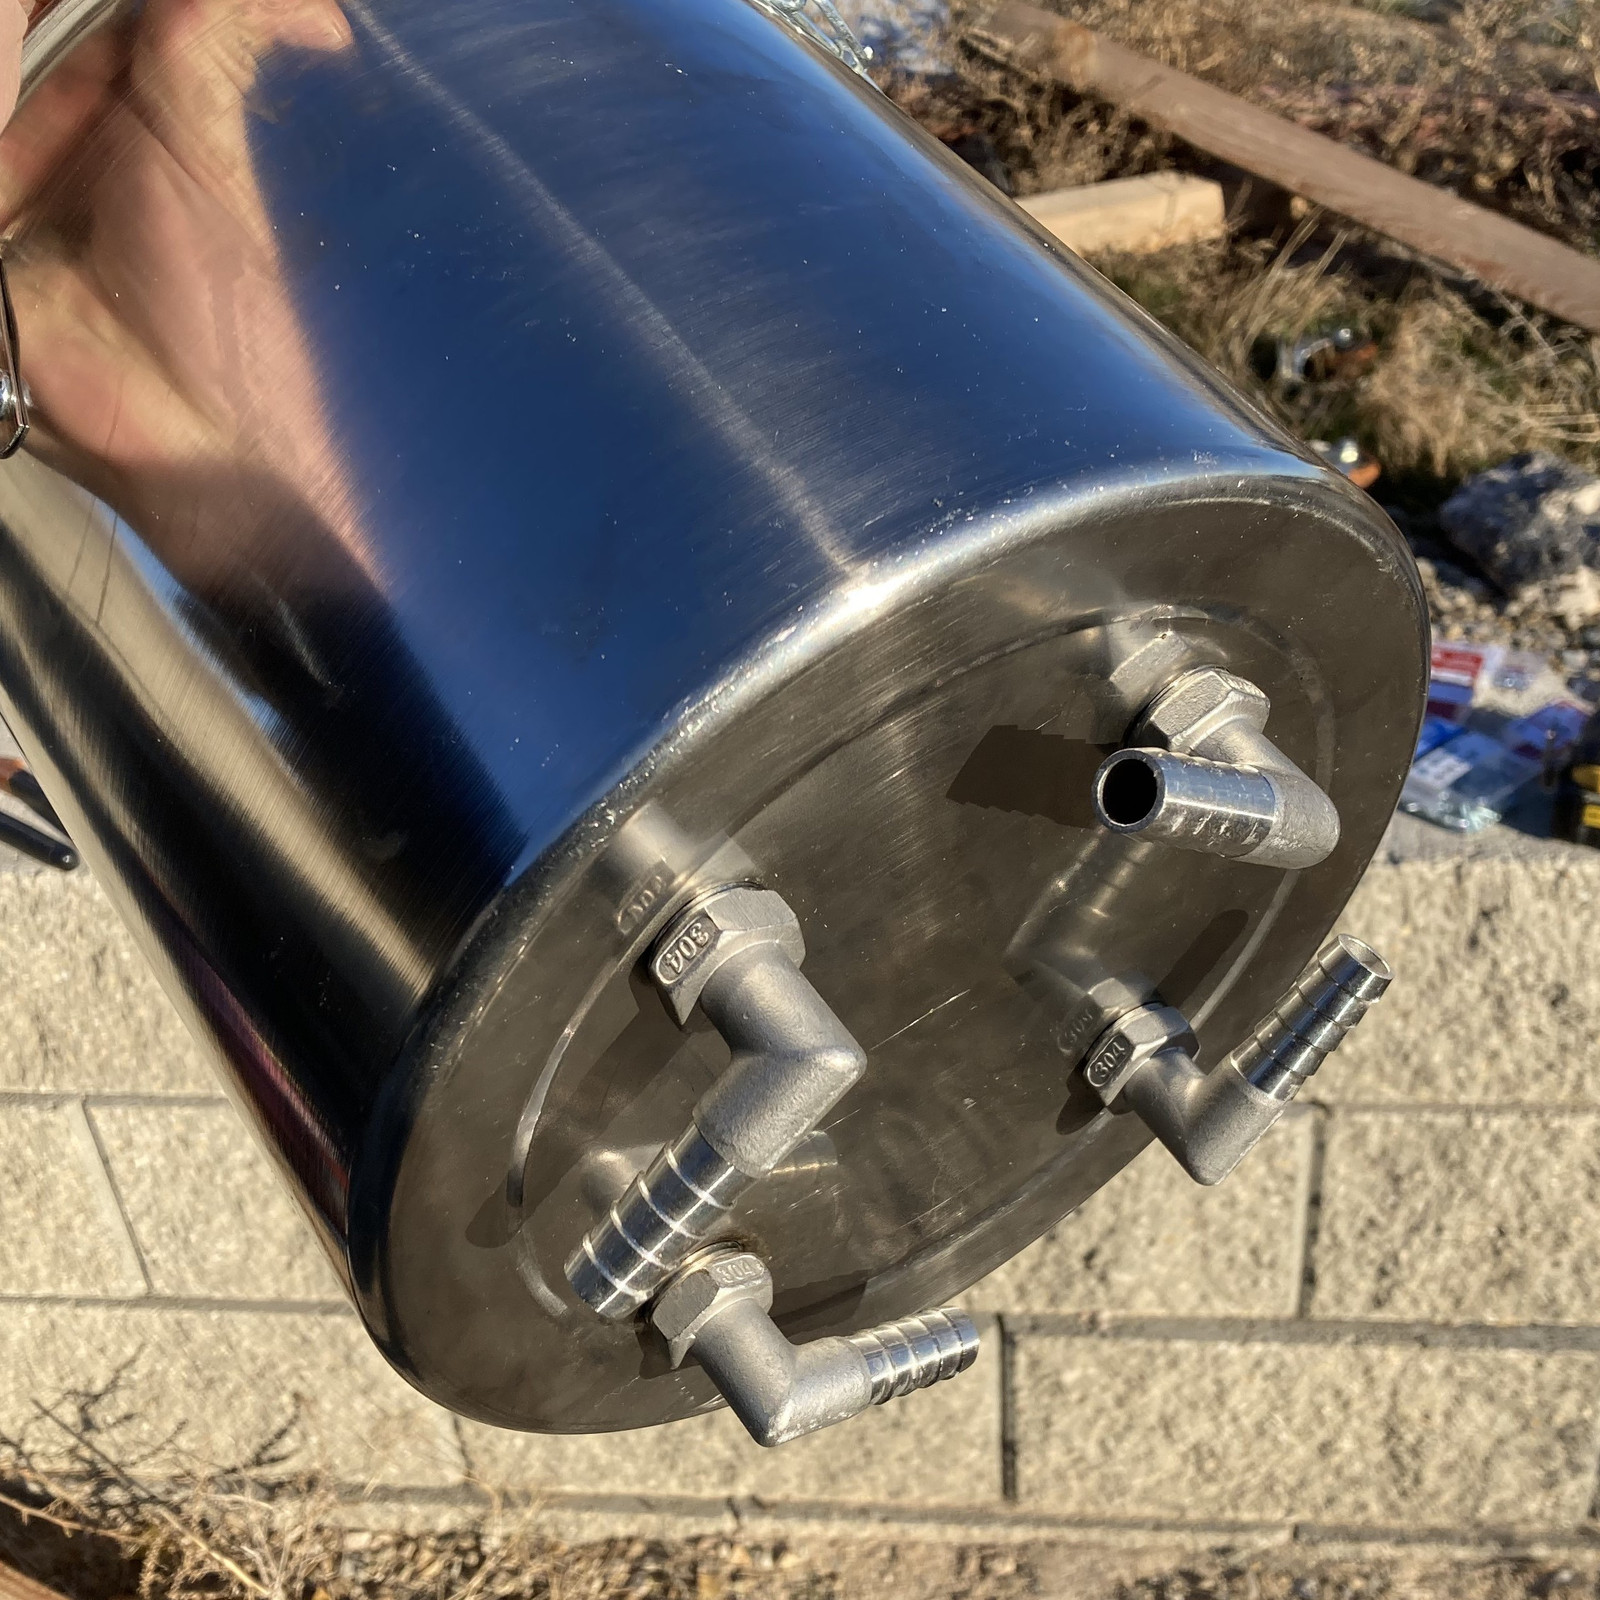
My next iteration on the design is based around a theory of “Reburn your vent gases.” The various gases driven off during the charcoal process are quite combustible - and while I’m flaring them off with the previous design, I’m not really making any good use of them. This next design has a few vents at the bottom - stainless steel elbows. These are designed so that most of the venting gases go down and through them, reburning under and around the pot. In theory, this will produce the heat needed to finish the charcoaling process without me needing to use nearly as much external fuel. So, with the pot so modified, I set out to find out!
Experiment 7: Bottom Vents
With yet another load of “assorted stuff” - some small, some large, just a wide range of sizes for experimental purposes in the retort, I lit a small wood pellet fire in the fire pit, and tossed the retort in!
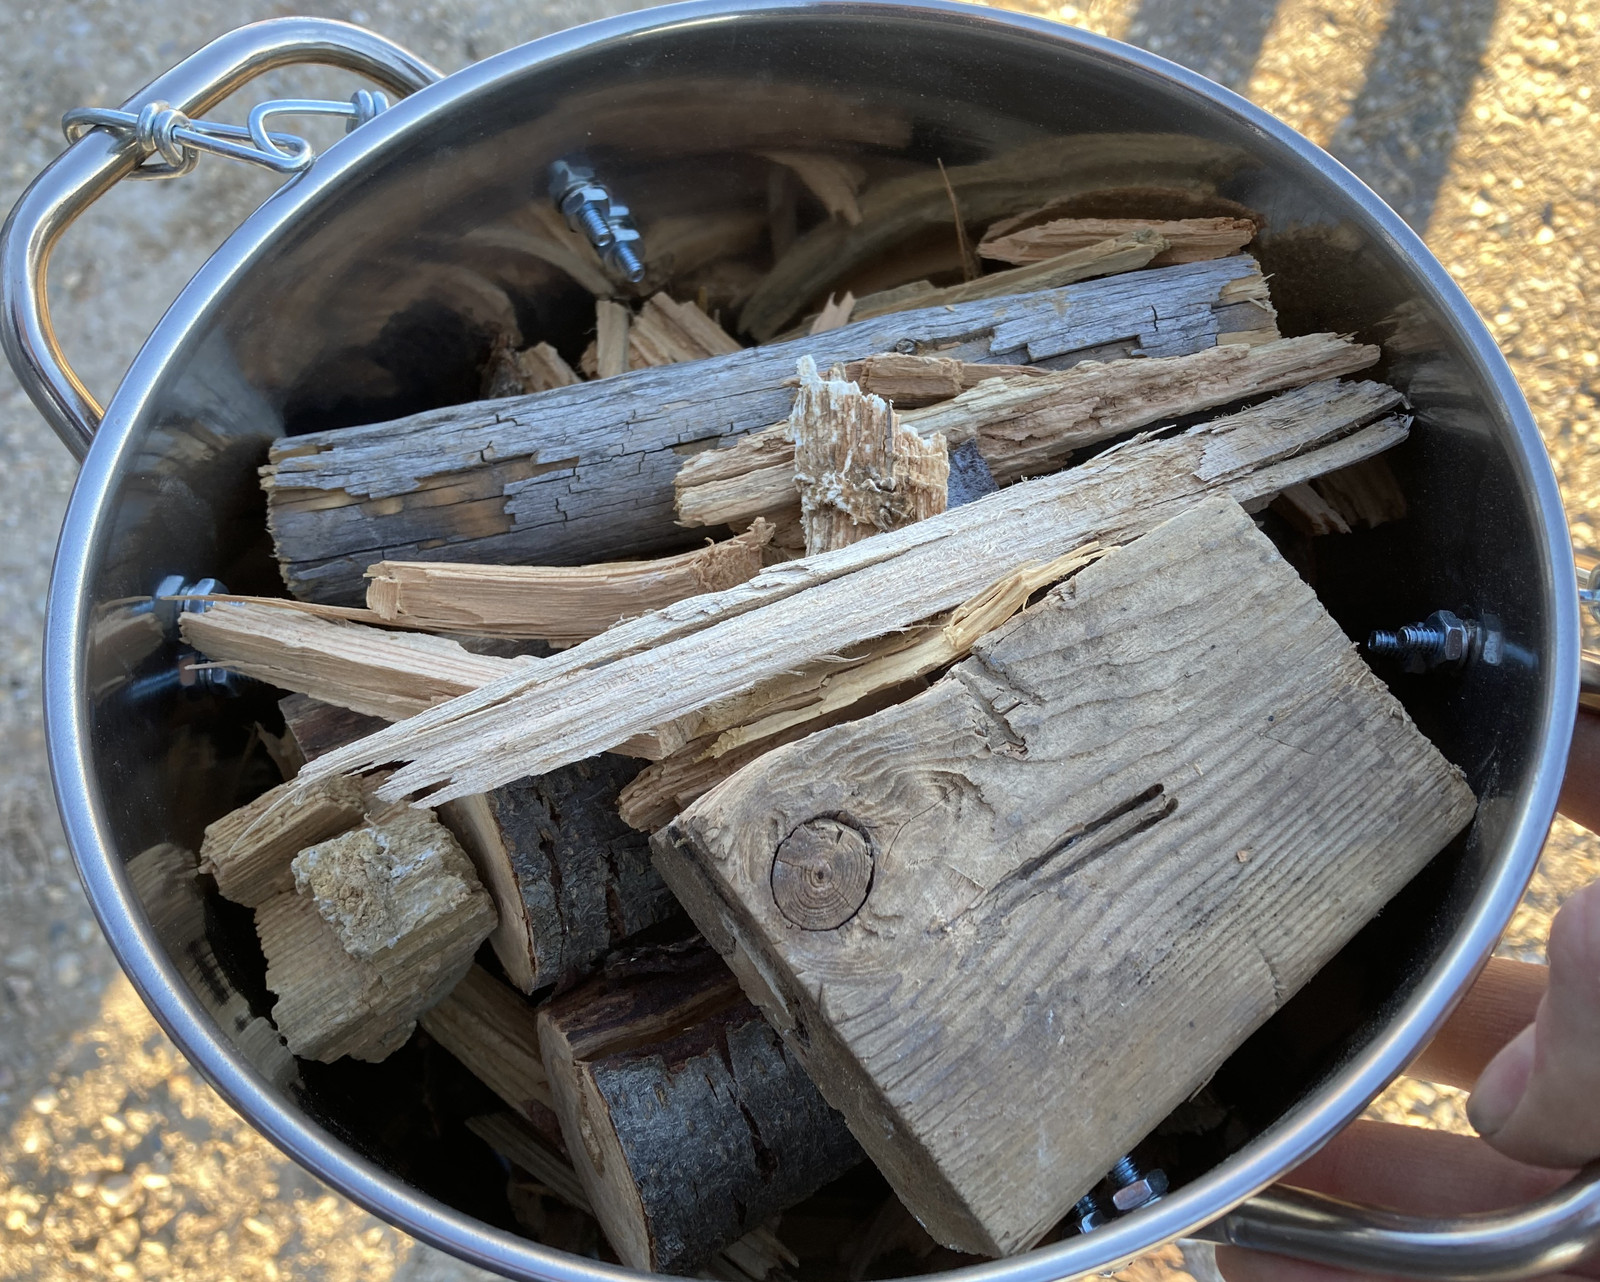
To try and ensure the gases go out the bottom, I put a hunk of iron weight on top. I’ll say that while it doesn’t work perfectly (I did see some venting gases on fire around the top), it does the job I want: Most of the gas goes out the bottom for combustion, instead of coming around the sides. The fire pit was good and hot, so it didn’t take long for things to start toasting!
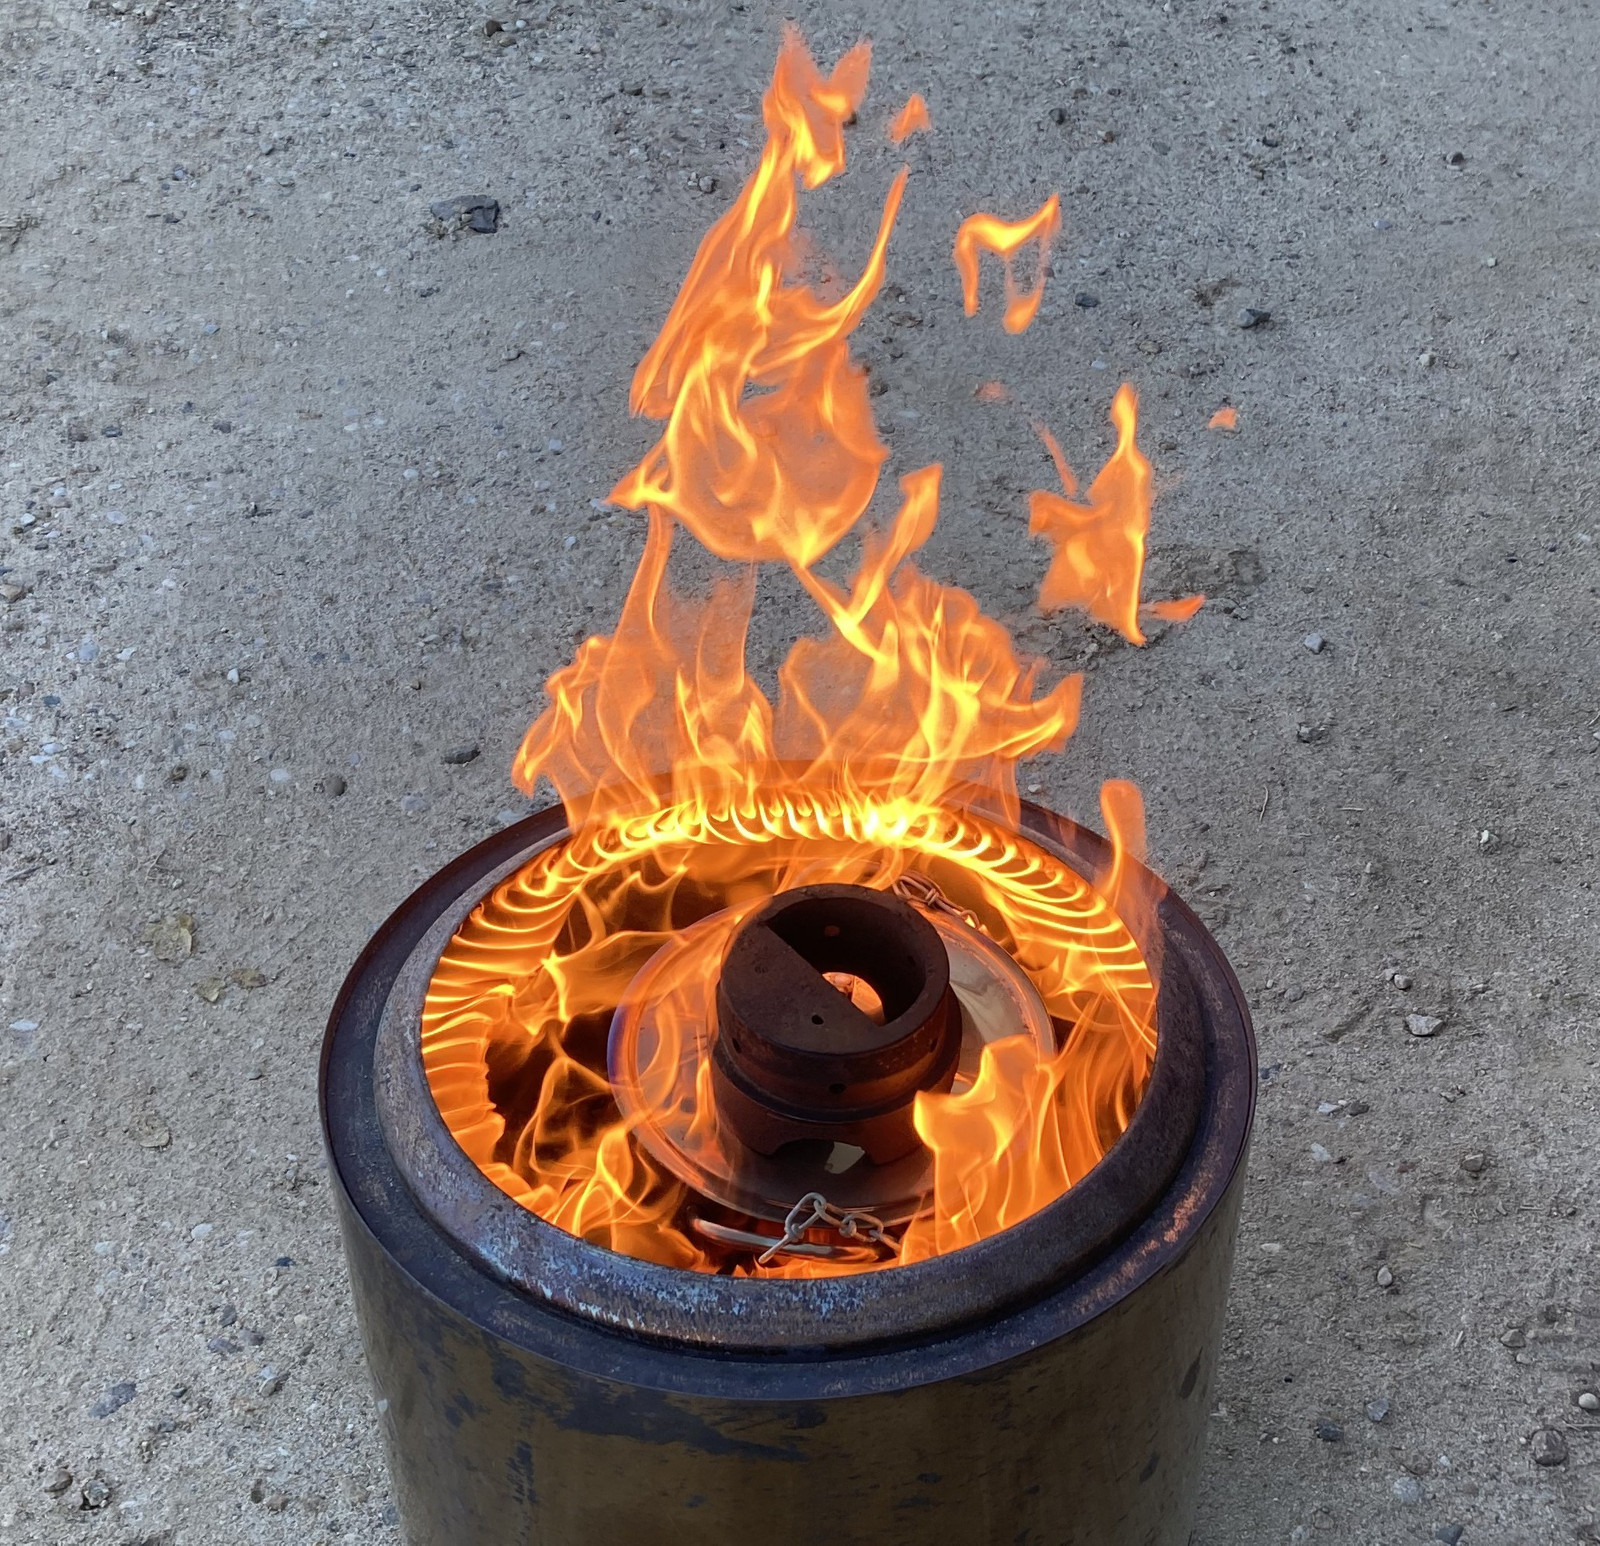
… but of course, if you have a small leaf blower, everything needs oxygen. I definitely augmented the fire here to help get things going. Some later failures of the fire pit would argue that, perhaps, such aggressive leaf blower use isn’t a great idea. It’s probably fine to spiral the flames at the top, but you probably shouldn’t use the Solo Stove like a forge.
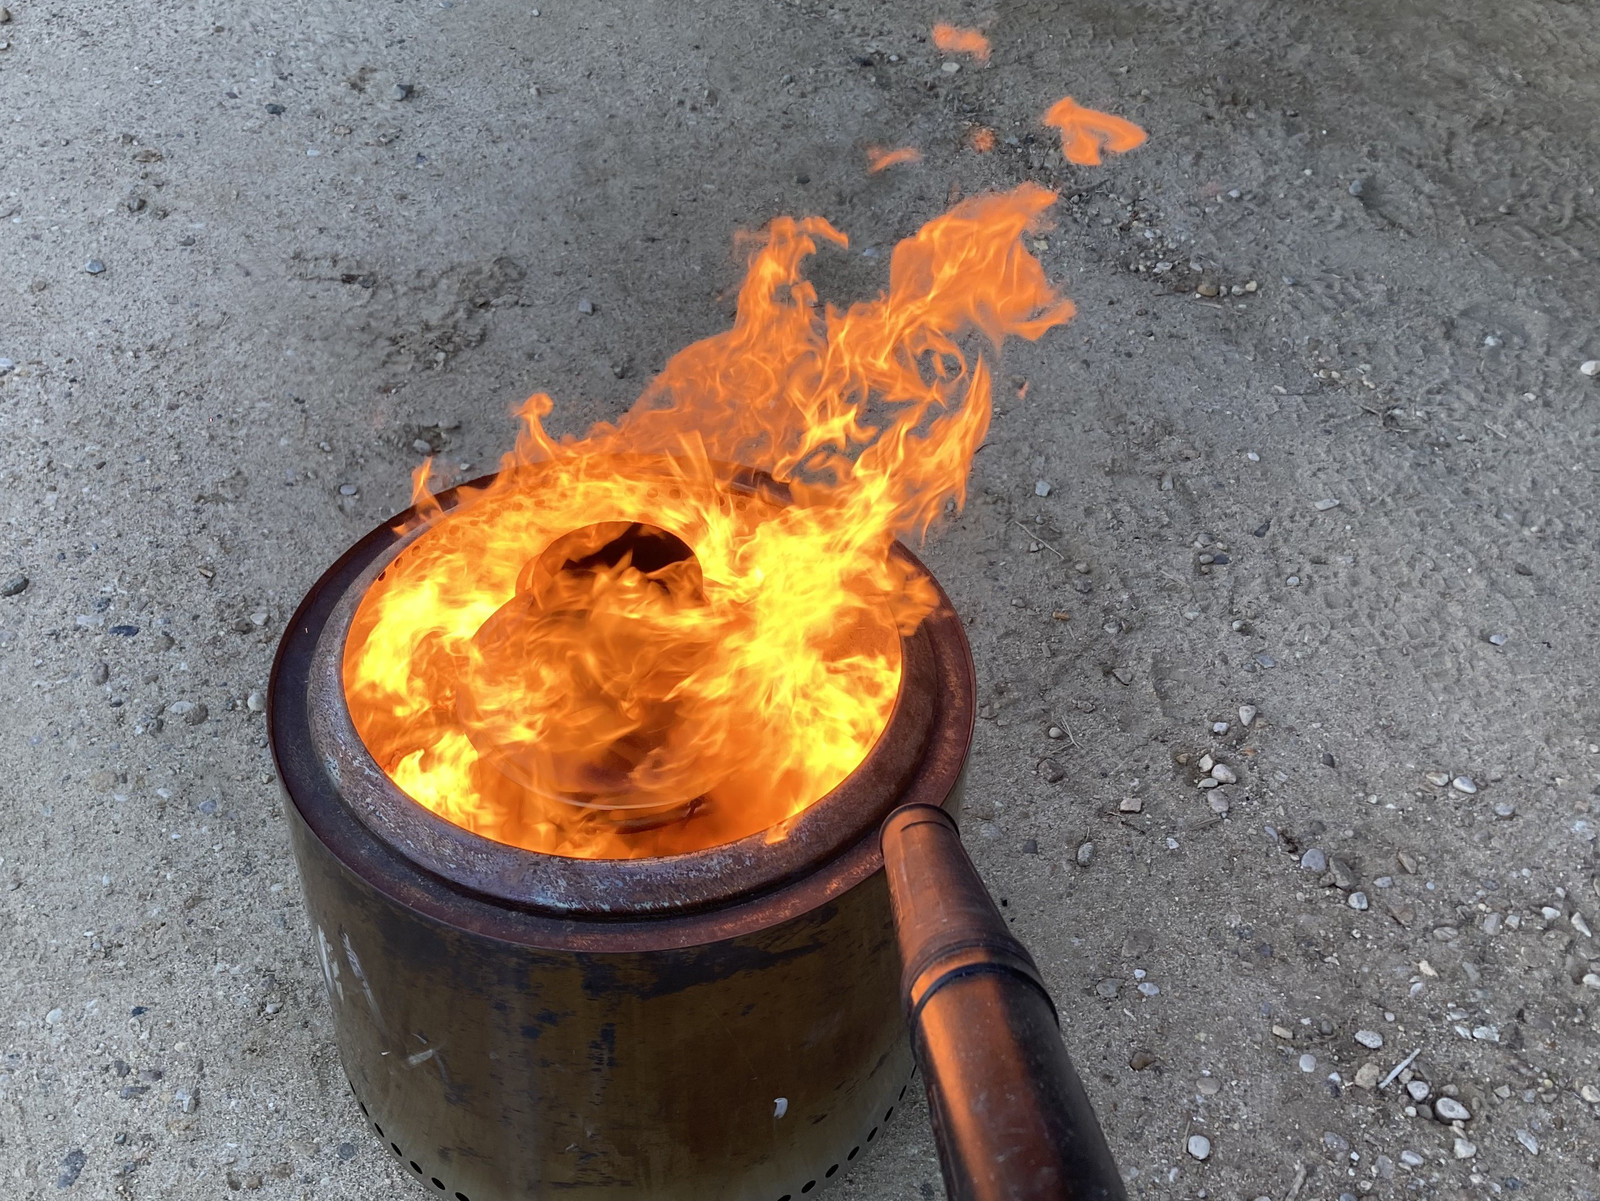
Once it was up to temperature, as far as I can tell, it works perfectly - I have tongues of fire coming out from under the pot that appear to be the venting gases burning rather completely down in the base. With the pit running at full performance, a lot of the flame combustion happens out the top - but as it burns down, there’s air for combustion to complete down lower. The sides of the pit are effectively reflecting the heat into the retort, and it seems to work quite well.
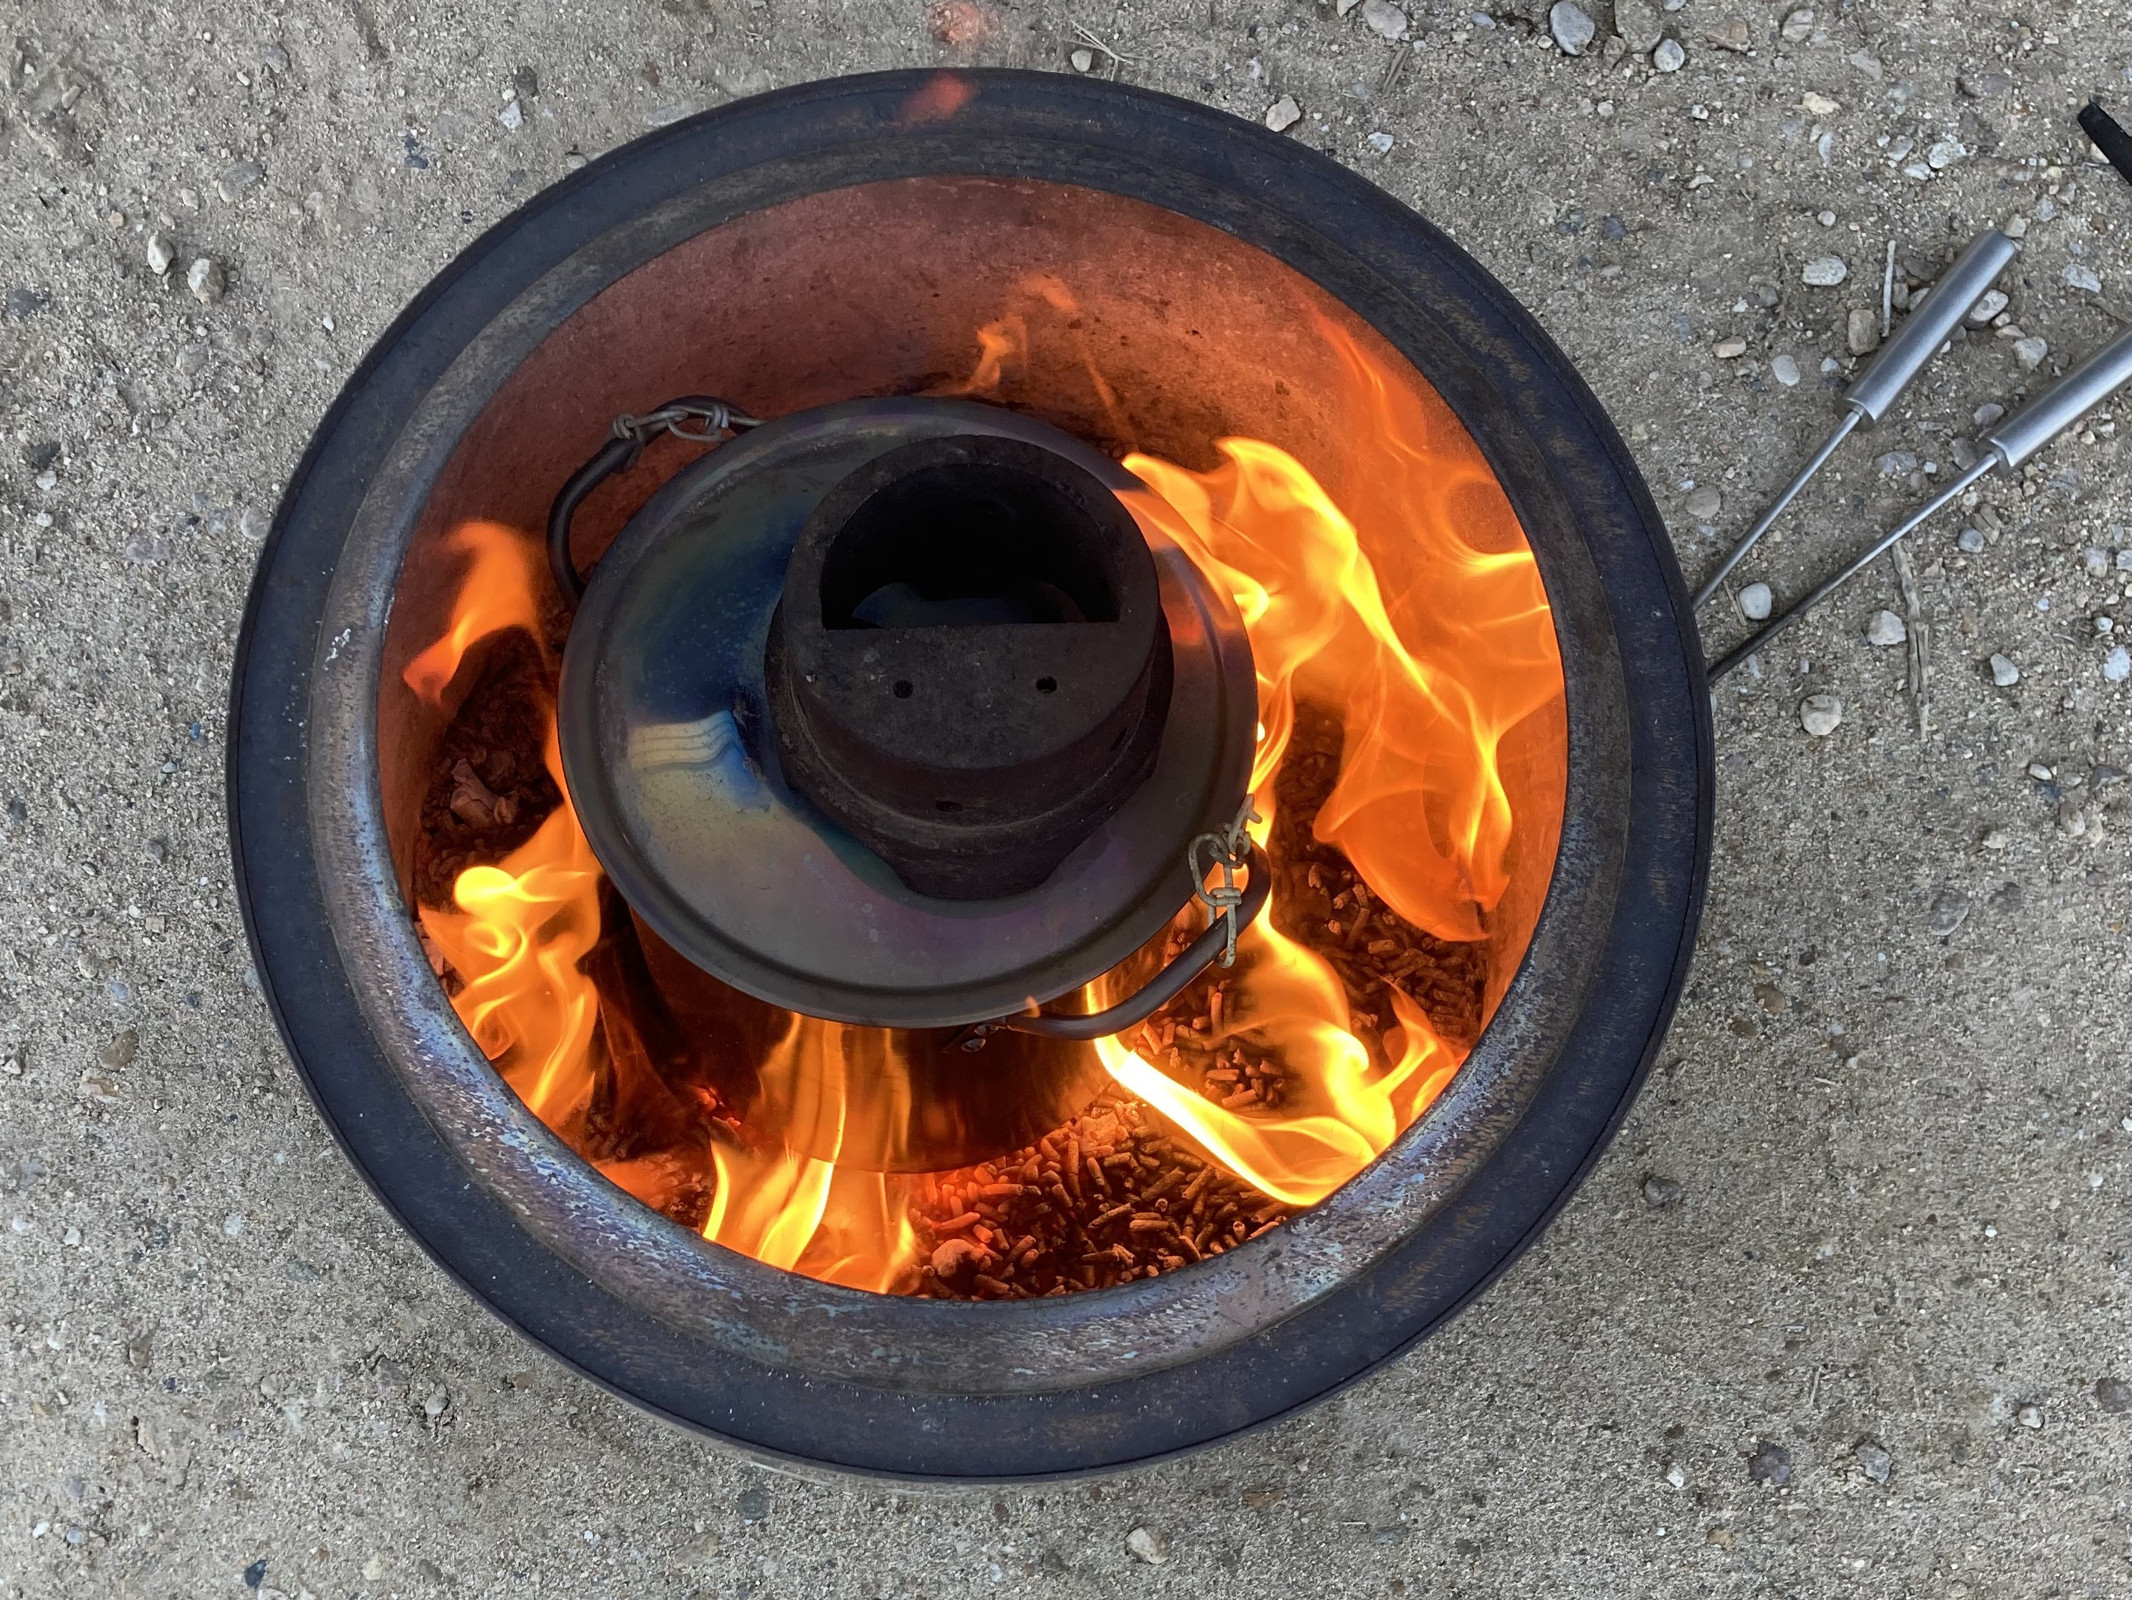
The result? Charcoal. I let the process finish naturally and closed the pit up when things had stopped burning. It stayed hot for a while, but by the next morning, plenty of good charcoal to be had - both large and small. So I think this design works, and should require less fuel than the previous design if I’m trying to produce more charcoal over time.
Experiment 8: Bottom Vent Failure
I don’t have any photos, but I tried running the bottom vent pot again in the normal firepit night configuration, and it ended up not completing the burn - though having a bunch of wet, icy wood as the feedstock really didn’t help things. It just wouldn’t burn down, so I gave up (the inside of the pot was covered in a thick shiny tar), and tried again next time - which finished the burn nicely. I did have some problems with the smaller mulch getting stuck in the jets - so I think small pieces are best avoided in this pot, at least with my current design of the vents.
And… That’s Solo Stove Production!
At this point, I just ran a bunch more batches when I had time. There’s really nothing else to report - it works as expected, and burns down into some pretty good charcoal without much effort on my part. The fire pit reflects the heat in, and you get an exceedingly hot burn down in there. Any aluminum will simply melt out (at least on the sides - the aluminum for the top handle has softened but not melted out yet on my pots), so if you’re going to get a pot to do this, try to find one with welded handles - or be prepared to replace the aluminum rivets with something more temperature resistant.
I’ve found that the charcoal is somewhat better (in terms of sounding “glassy” when taped) if it sits in the pit overnight. I’ve tried pulling the retort out and letting it cool, and while I certainly get charcoal, it seems I get a better charcoal if the retort remains in the fire pit when I toss the lid on and let things cool down gradually overnight. Even after it’s done offgassing, there’s clearly still some benefit to remaining at temperature, and this sort of retort just isn’t big enough to hold the heat in for very long after it comes out of the fire.
If you want to make your own charcoal with a Solo Stove? Get a cheap stainless steel pot and chuck your scraps in!

Comments
Comments are handled on my Discourse forum - you'll need to create an account there to post comments.If you've found this post useful, insightful, or informative, why not support me on Ko-fi? And if you'd like to be notified of new posts (I post every two weeks), you can follow my blog via email! Of course, if you like RSS, I support that too.
